STS-93 KSC Electronic Photo File
![[Image Movie Archive]](https://webarchive.library.unt.edu/eot2008/20090814134438im_/http://science.ksc.nasa.gov/shuttle/photos/top.jpg)
The following electronic images depict some of the preflight
, launch and landing activities associated with the Space Shuttle Mission STS-93. For other shuttle missions visit the Shuttle Countdown Image/Movie Archive Please Note: These photos are available only in electronic form.
They cannot be ordered as hard-copy prints. However, you are free to transfer them locally and print them on your own printer.
Available in Low,Medium,High Resolution Contact sheets.
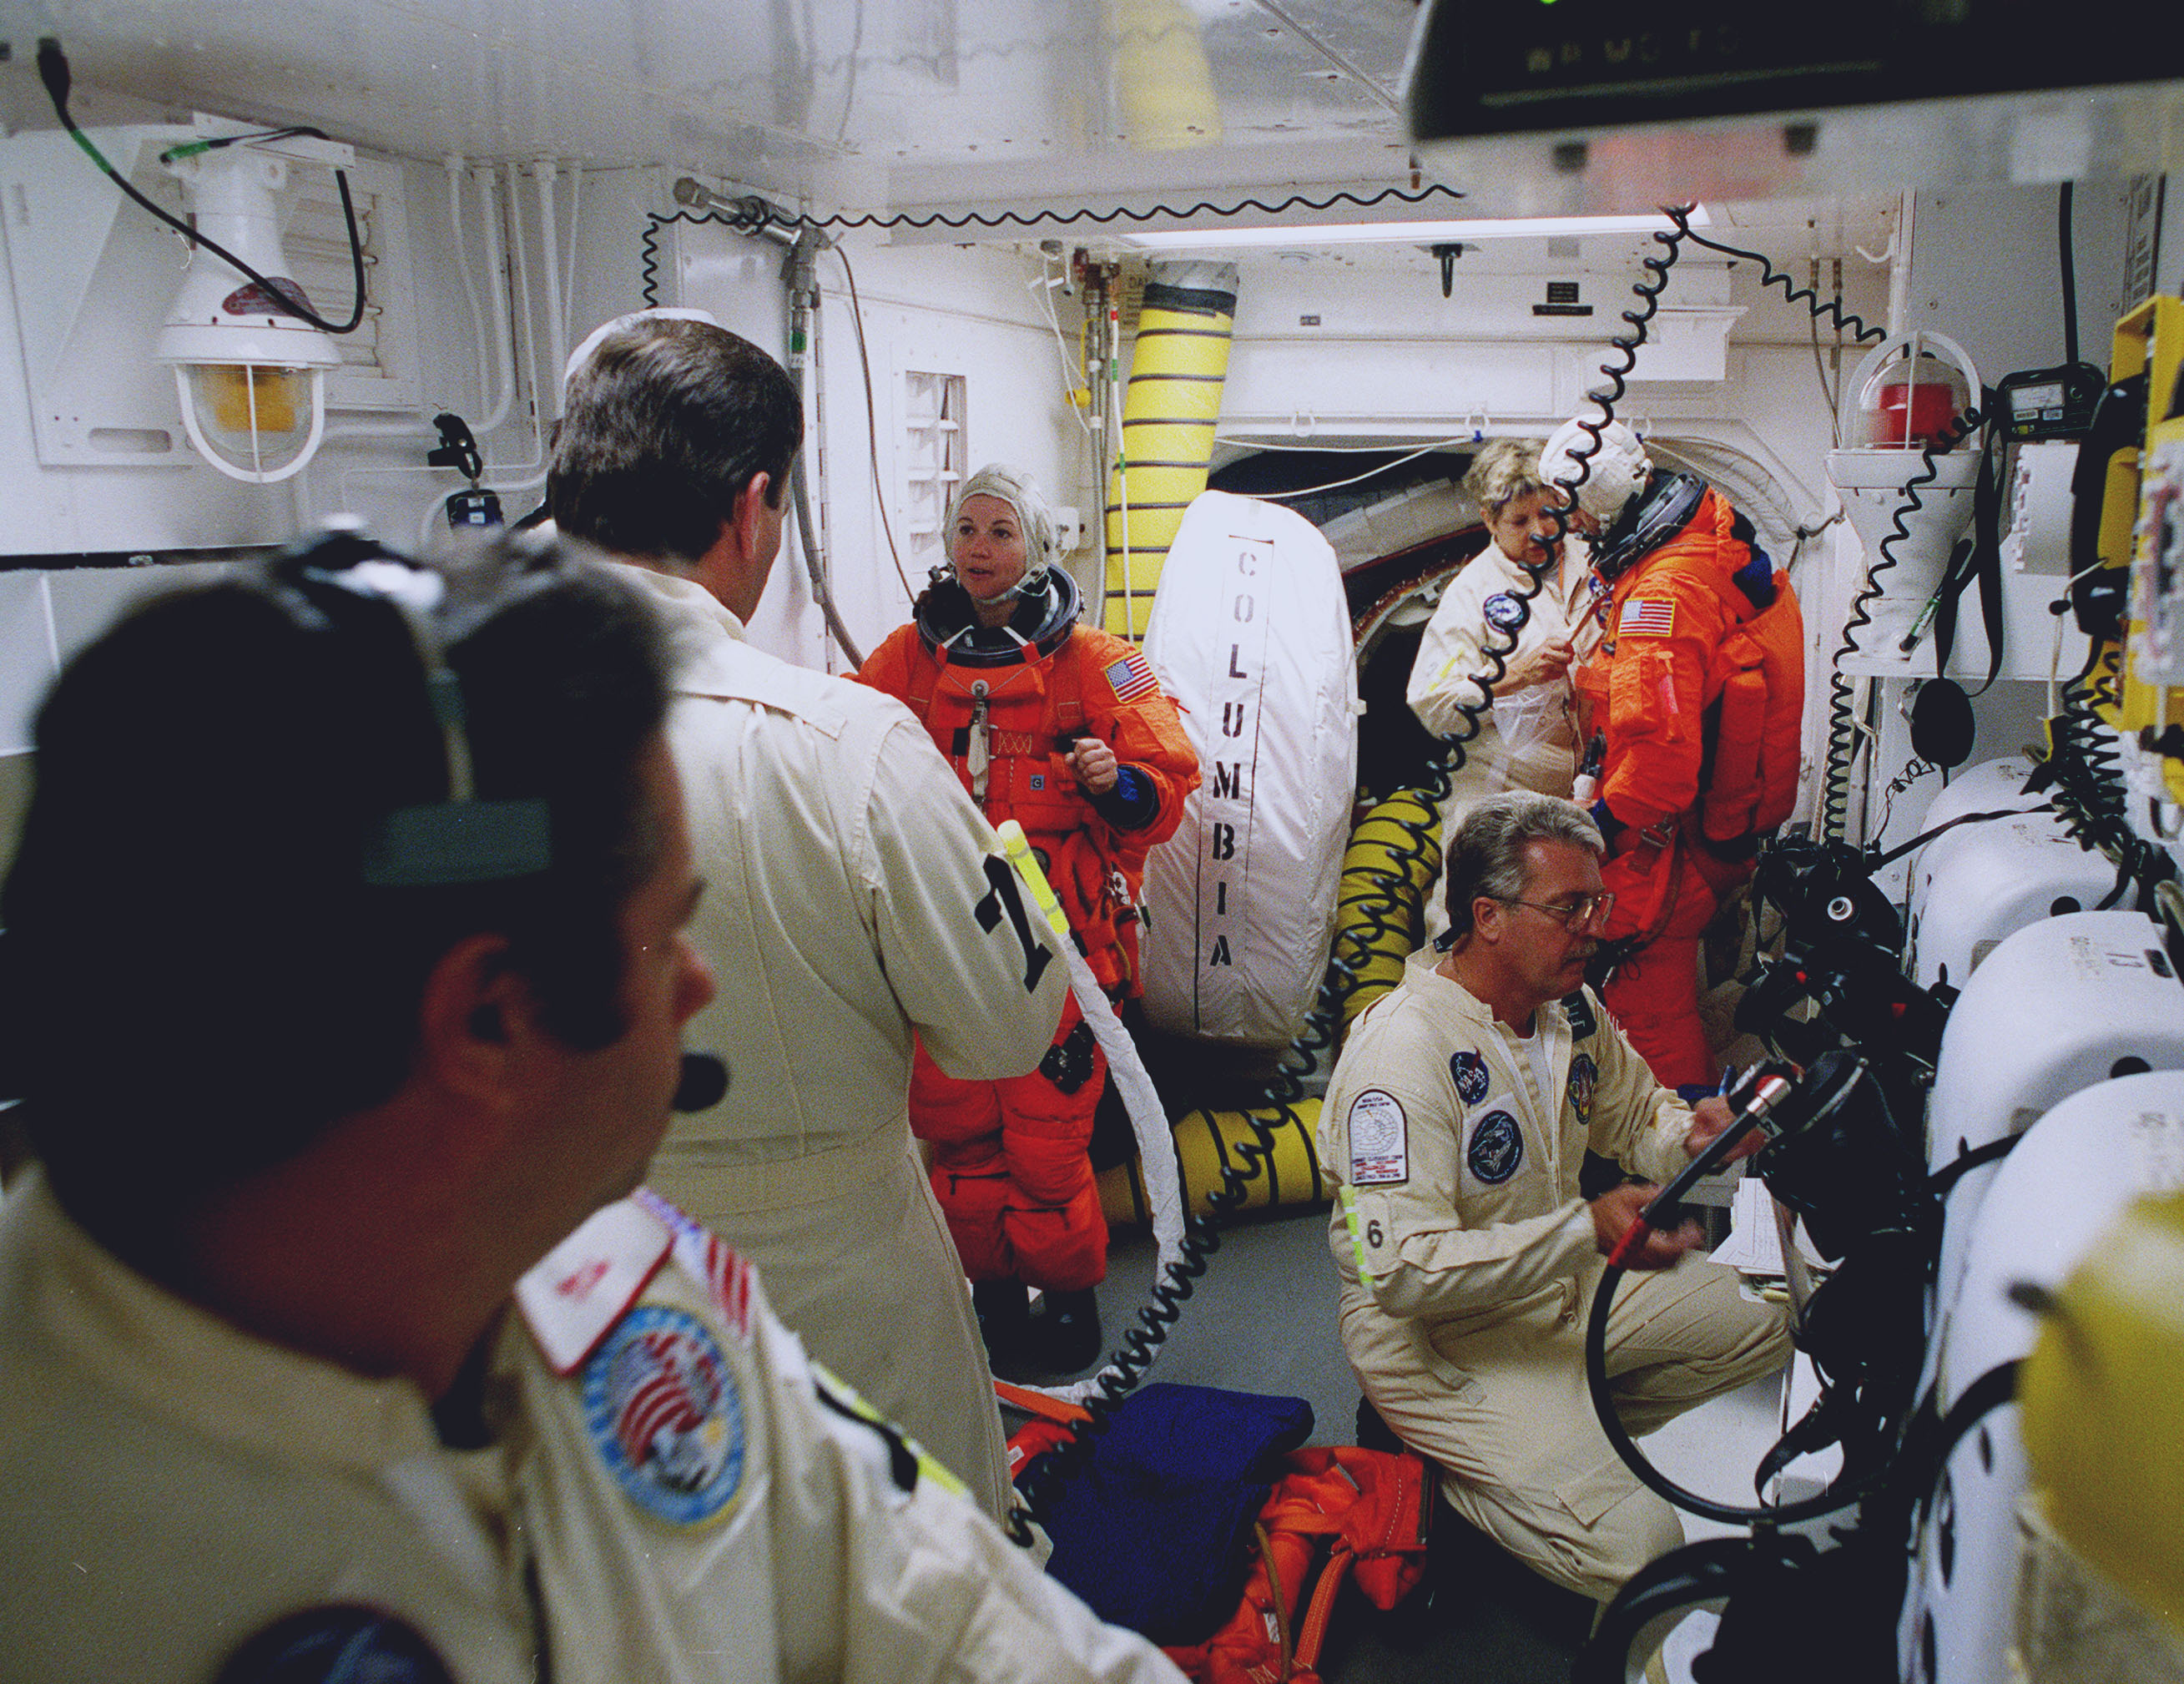
- KSC-98PP-1687 - (L,M,H) - STS-93 crew takes part in a Crew Equipment Interface Test
- KSC-98PP-1688 - (L,M,H) - STS-93 crew takes part in a Crew Equipment Interface Test
- KSC-98PP-1689 - (L,M,H) - STS-93 crew takes part in a Crew Equipment Interface Test
- KSC-98PP-1690 - (L,M,H) - STS-93 crew takes part in a Crew Equipment Interface Test
- KSC-98PP-1691 - (L,M,H) - STS-93 crew takes part in a Crew Equipment Interface Test
- KSC-98PP-1692 - (L,M,H) - STS-93 crew takes part in a Crew Equipment Interface Test
- KSC-98PP-1693 - (L,M,H) - STS-93 crew takes part in a Crew Equipment Interface Test
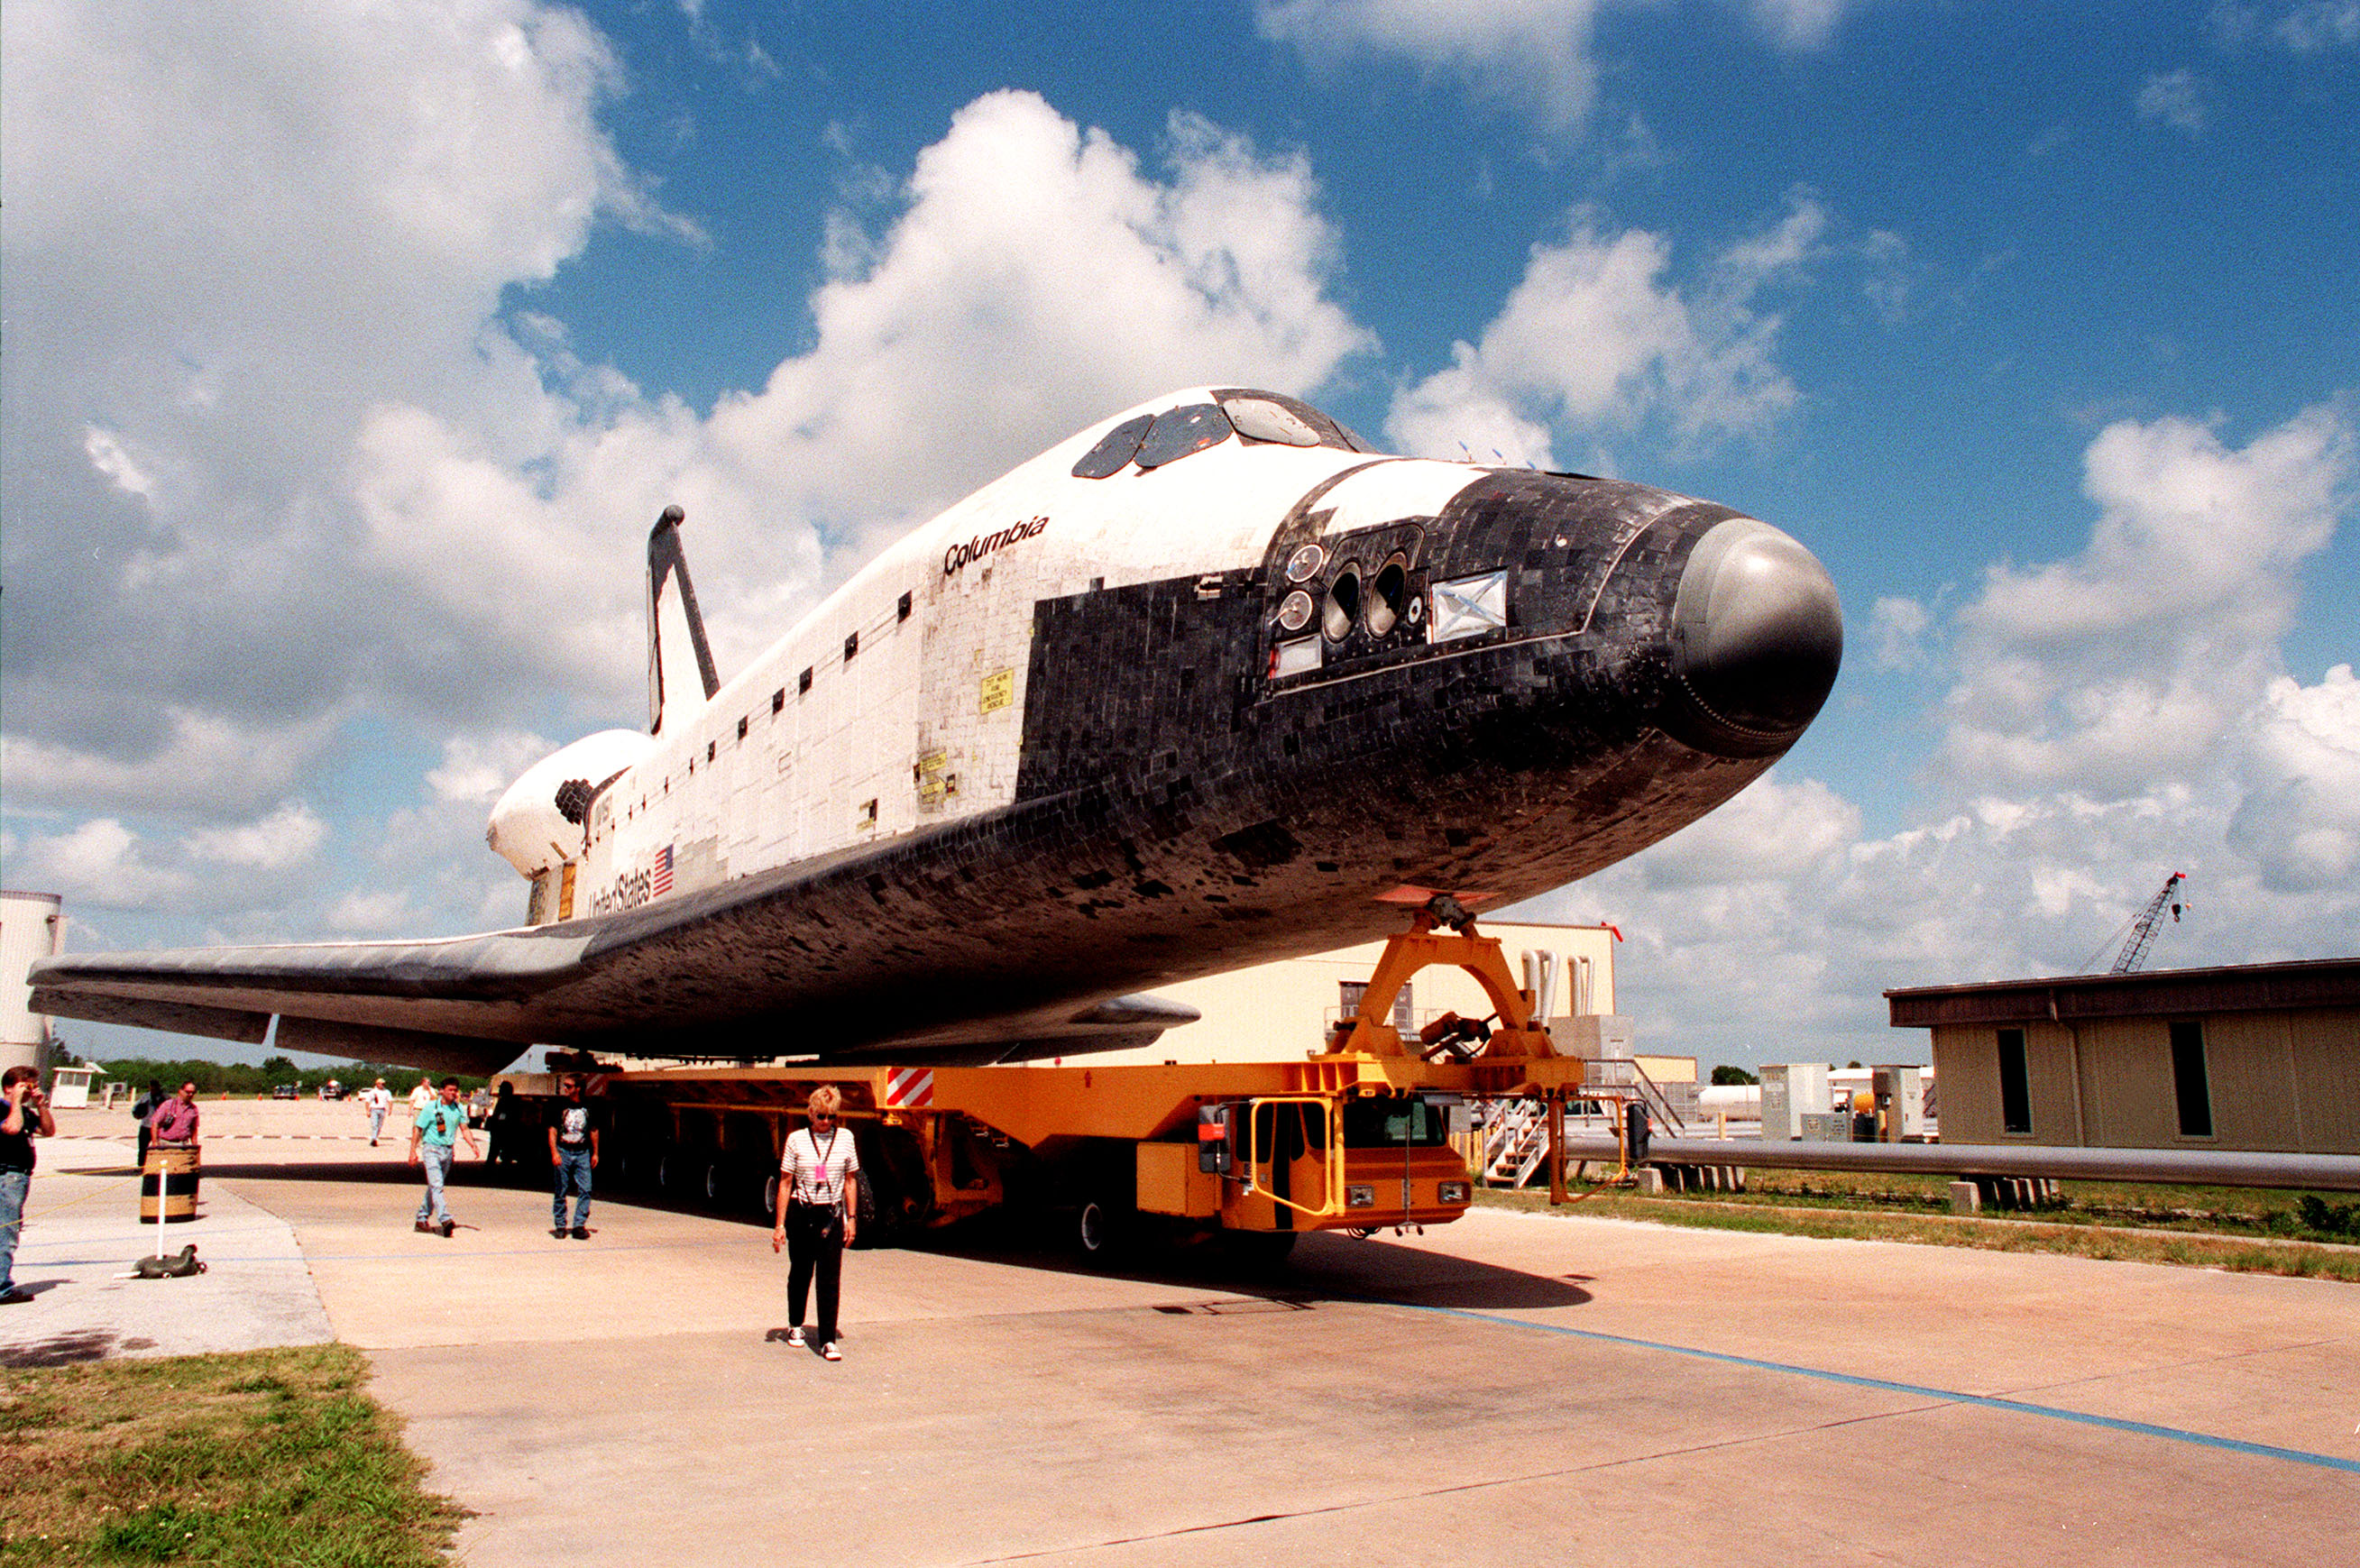
- KSC-99PP-0613 - (L,M,H) - STS-93 Columbia rolls over to Vehicle Assemble Building (VAB)
- KSC-99PP-0614 - (L,M,H) - STS-93 Columbia rolls over to Vehicle Assemble Building (VAB)
- KSC-99PP-0615 - (L,M,H) - STS-93 Columbia rolls over to Vehicle Assemble Building (VAB)
- KSC-99PP-0616 - (L,M,H) - STS-93 Columbia rolls over to Vehicle Assemble Building (VAB)
- KSC-99PP-0635 - (L,M,H) - STS-93 Columbia after rollout to Launch Pad 39B
- KSC-99PP-0636 - (L,M,H) - STS-93 Columbia after rollout to Launch Pad 39B
- KSC-99PP-0637 - (L,M,H) - STS-93 Columbia after rollout to Launch Pad 39B
- KSC-99PP-0638 - (L,M,H) - STS-93 Columbia after rollout to Launch Pad 39B
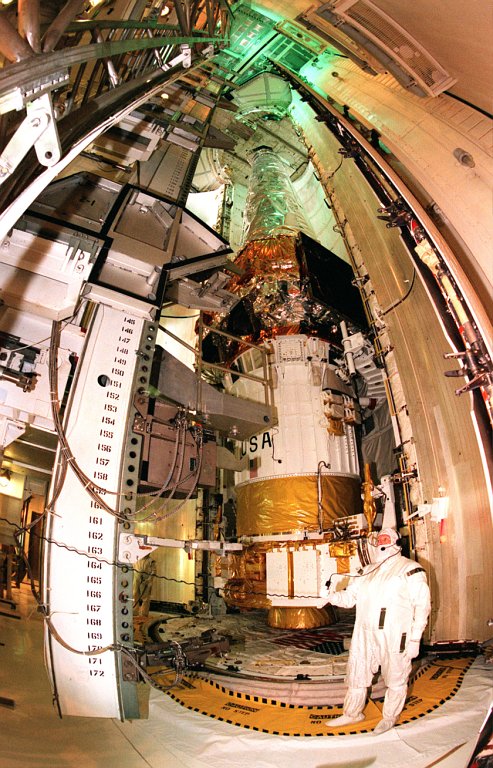
- KSC-99PP-0704 - (L,M,H) - Chandra X-ray Observatory is prepared for transfer to Launch Pad 39B.
- KSC-99PP-0705 - (L,M,H) - Chandra X-ray Observatory is prepared for transfer to Launch Pad 39B.
- KSC-99PP-0706 - (L,M,H) - Chandra X-ray Observatory is prepared for transfer to Launch Pad 39B.
- KSC-99PP-0707 - (L,M,H) - Chandra X-ray Observatory is prepared for transfer to Launch Pad 39B.
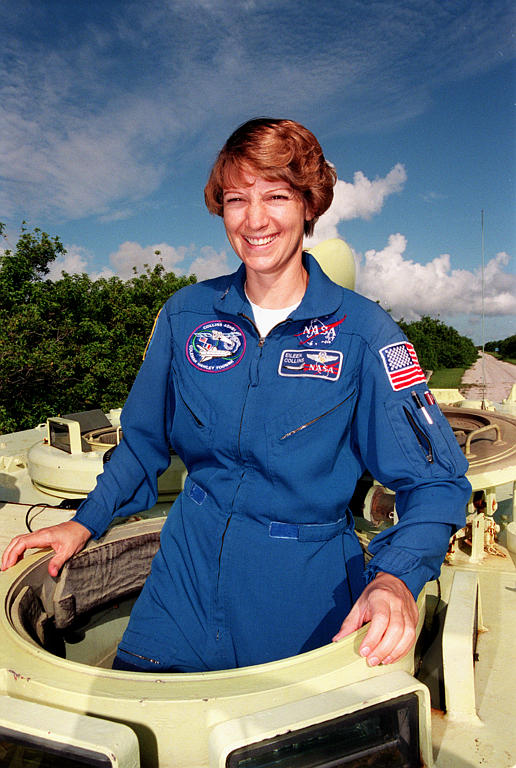
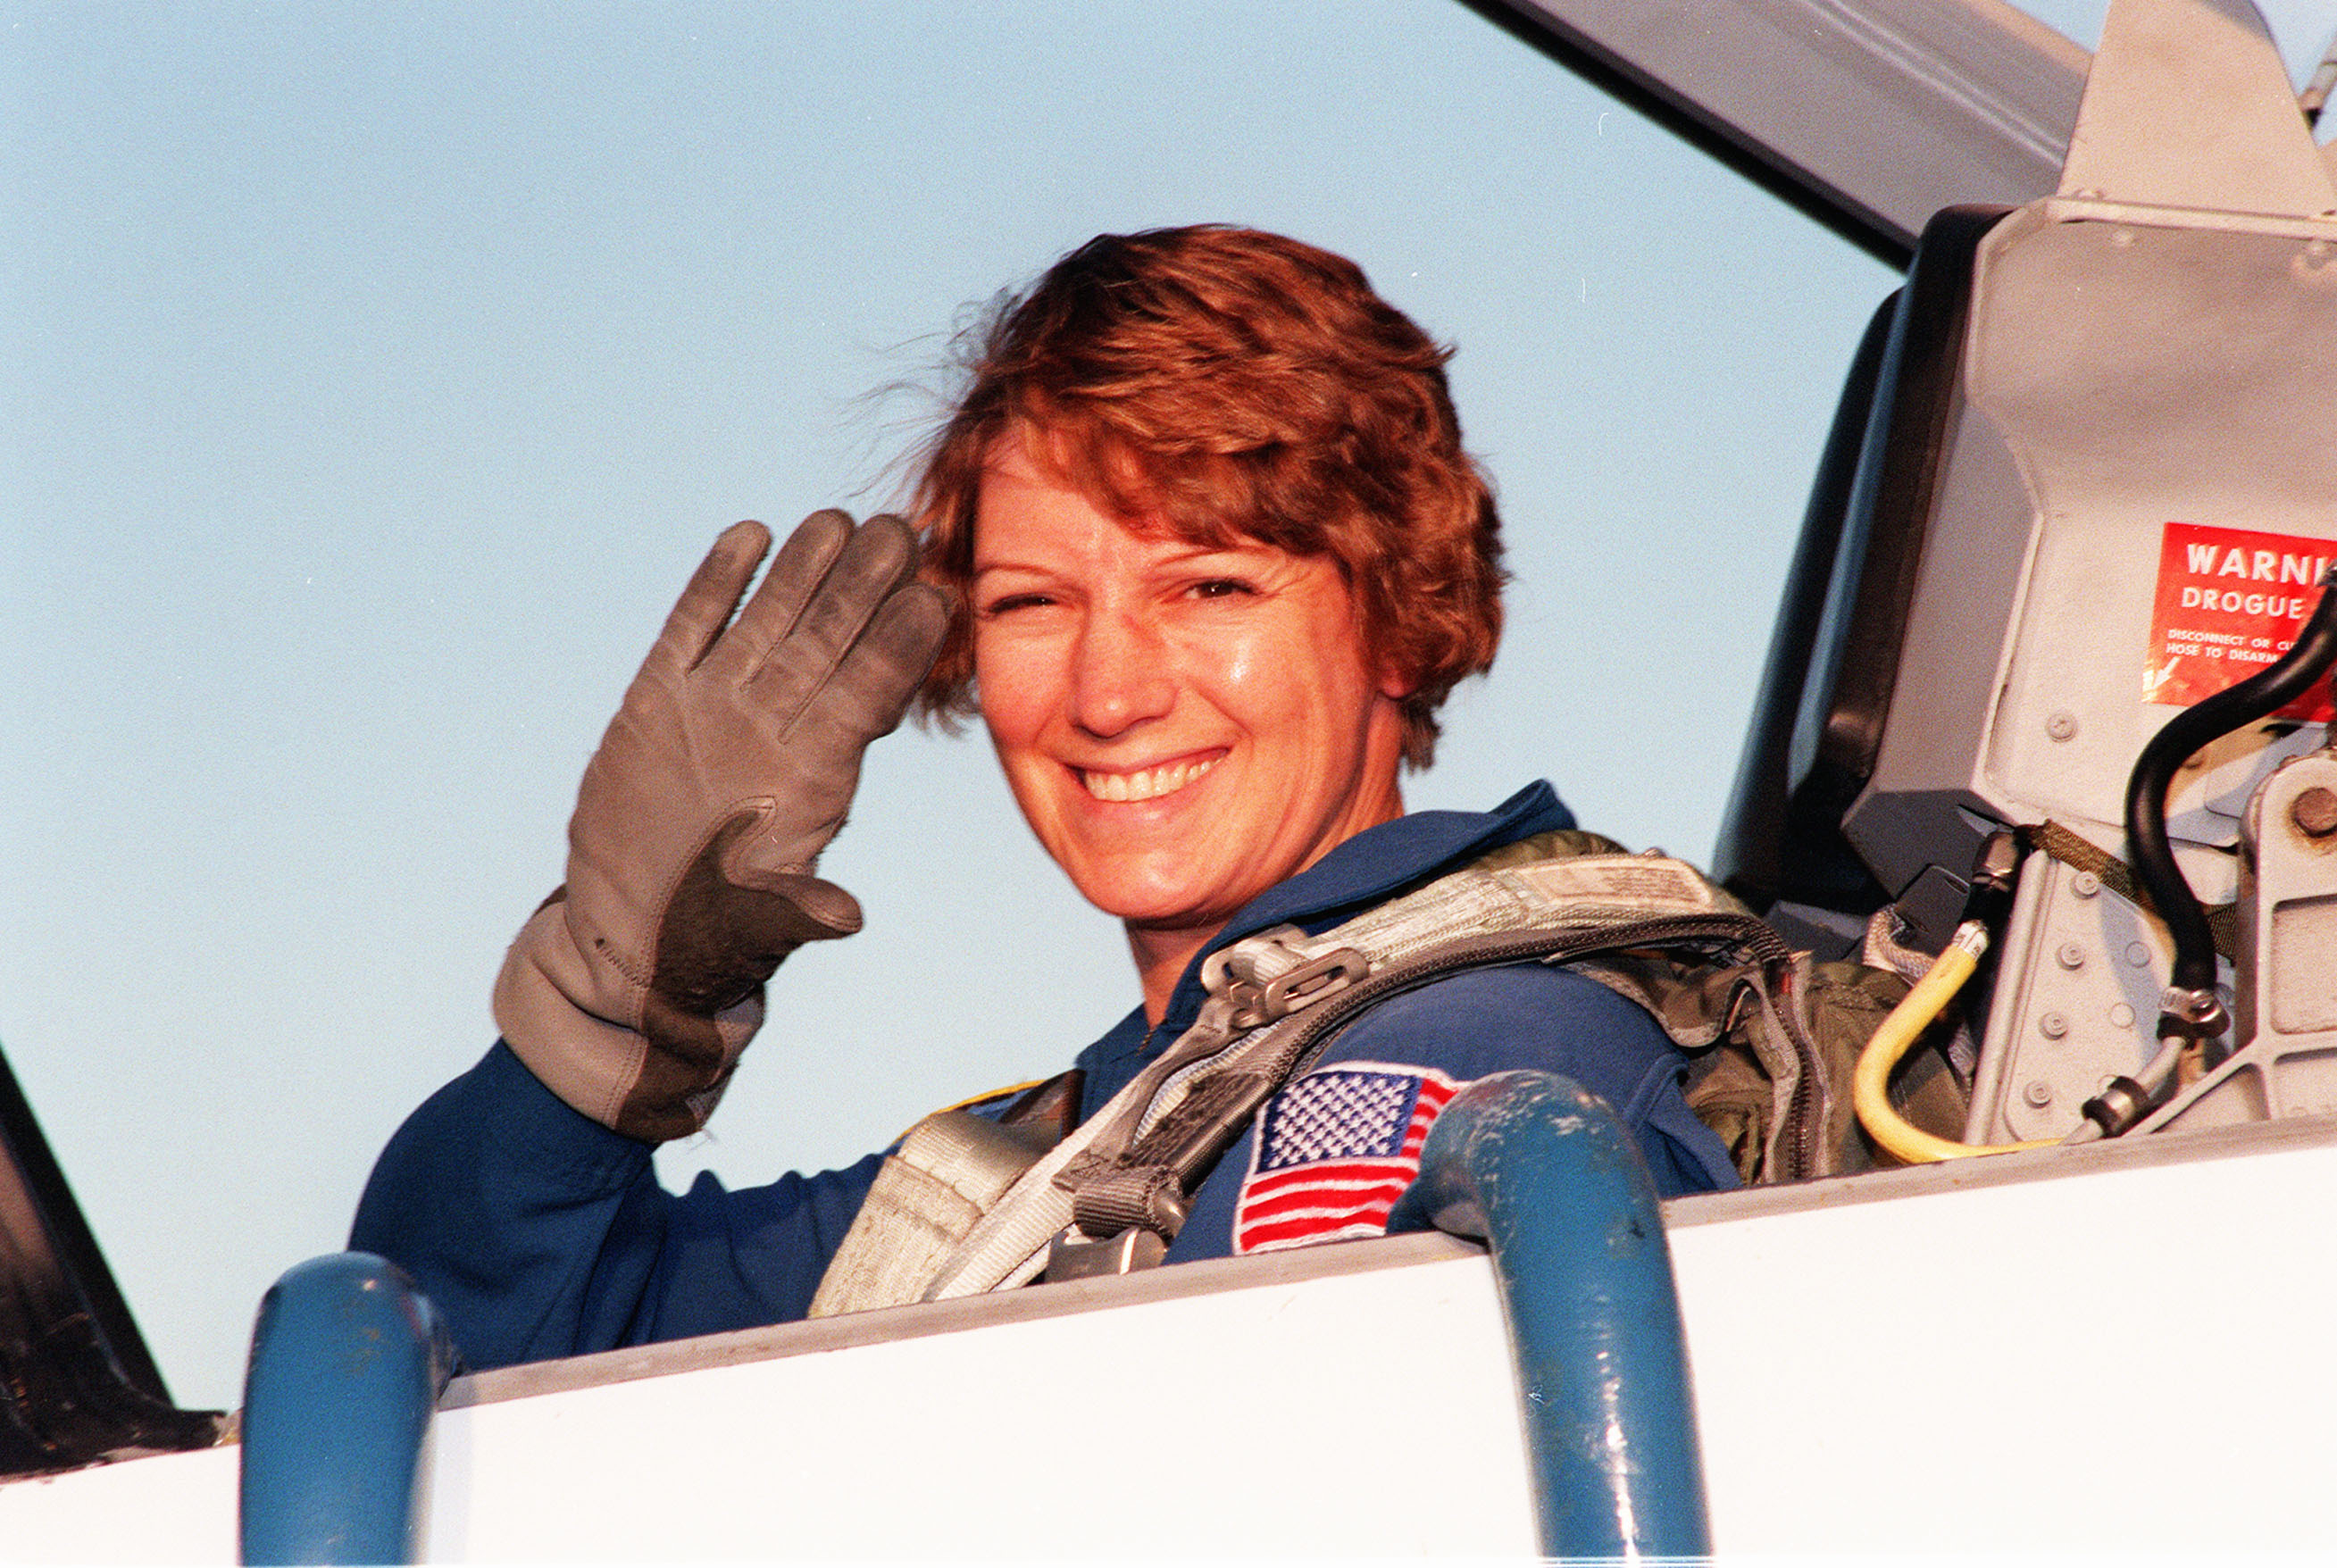
- KSC-99PP-0710 - (L,M,H) - STS-93 Commander Collins arrives at KSC for TCDT activities
- KSC-99PP-0711 - (L,M,H) - STS-93 Mission Specialist Coleman arrives at KSC for TCDT activities
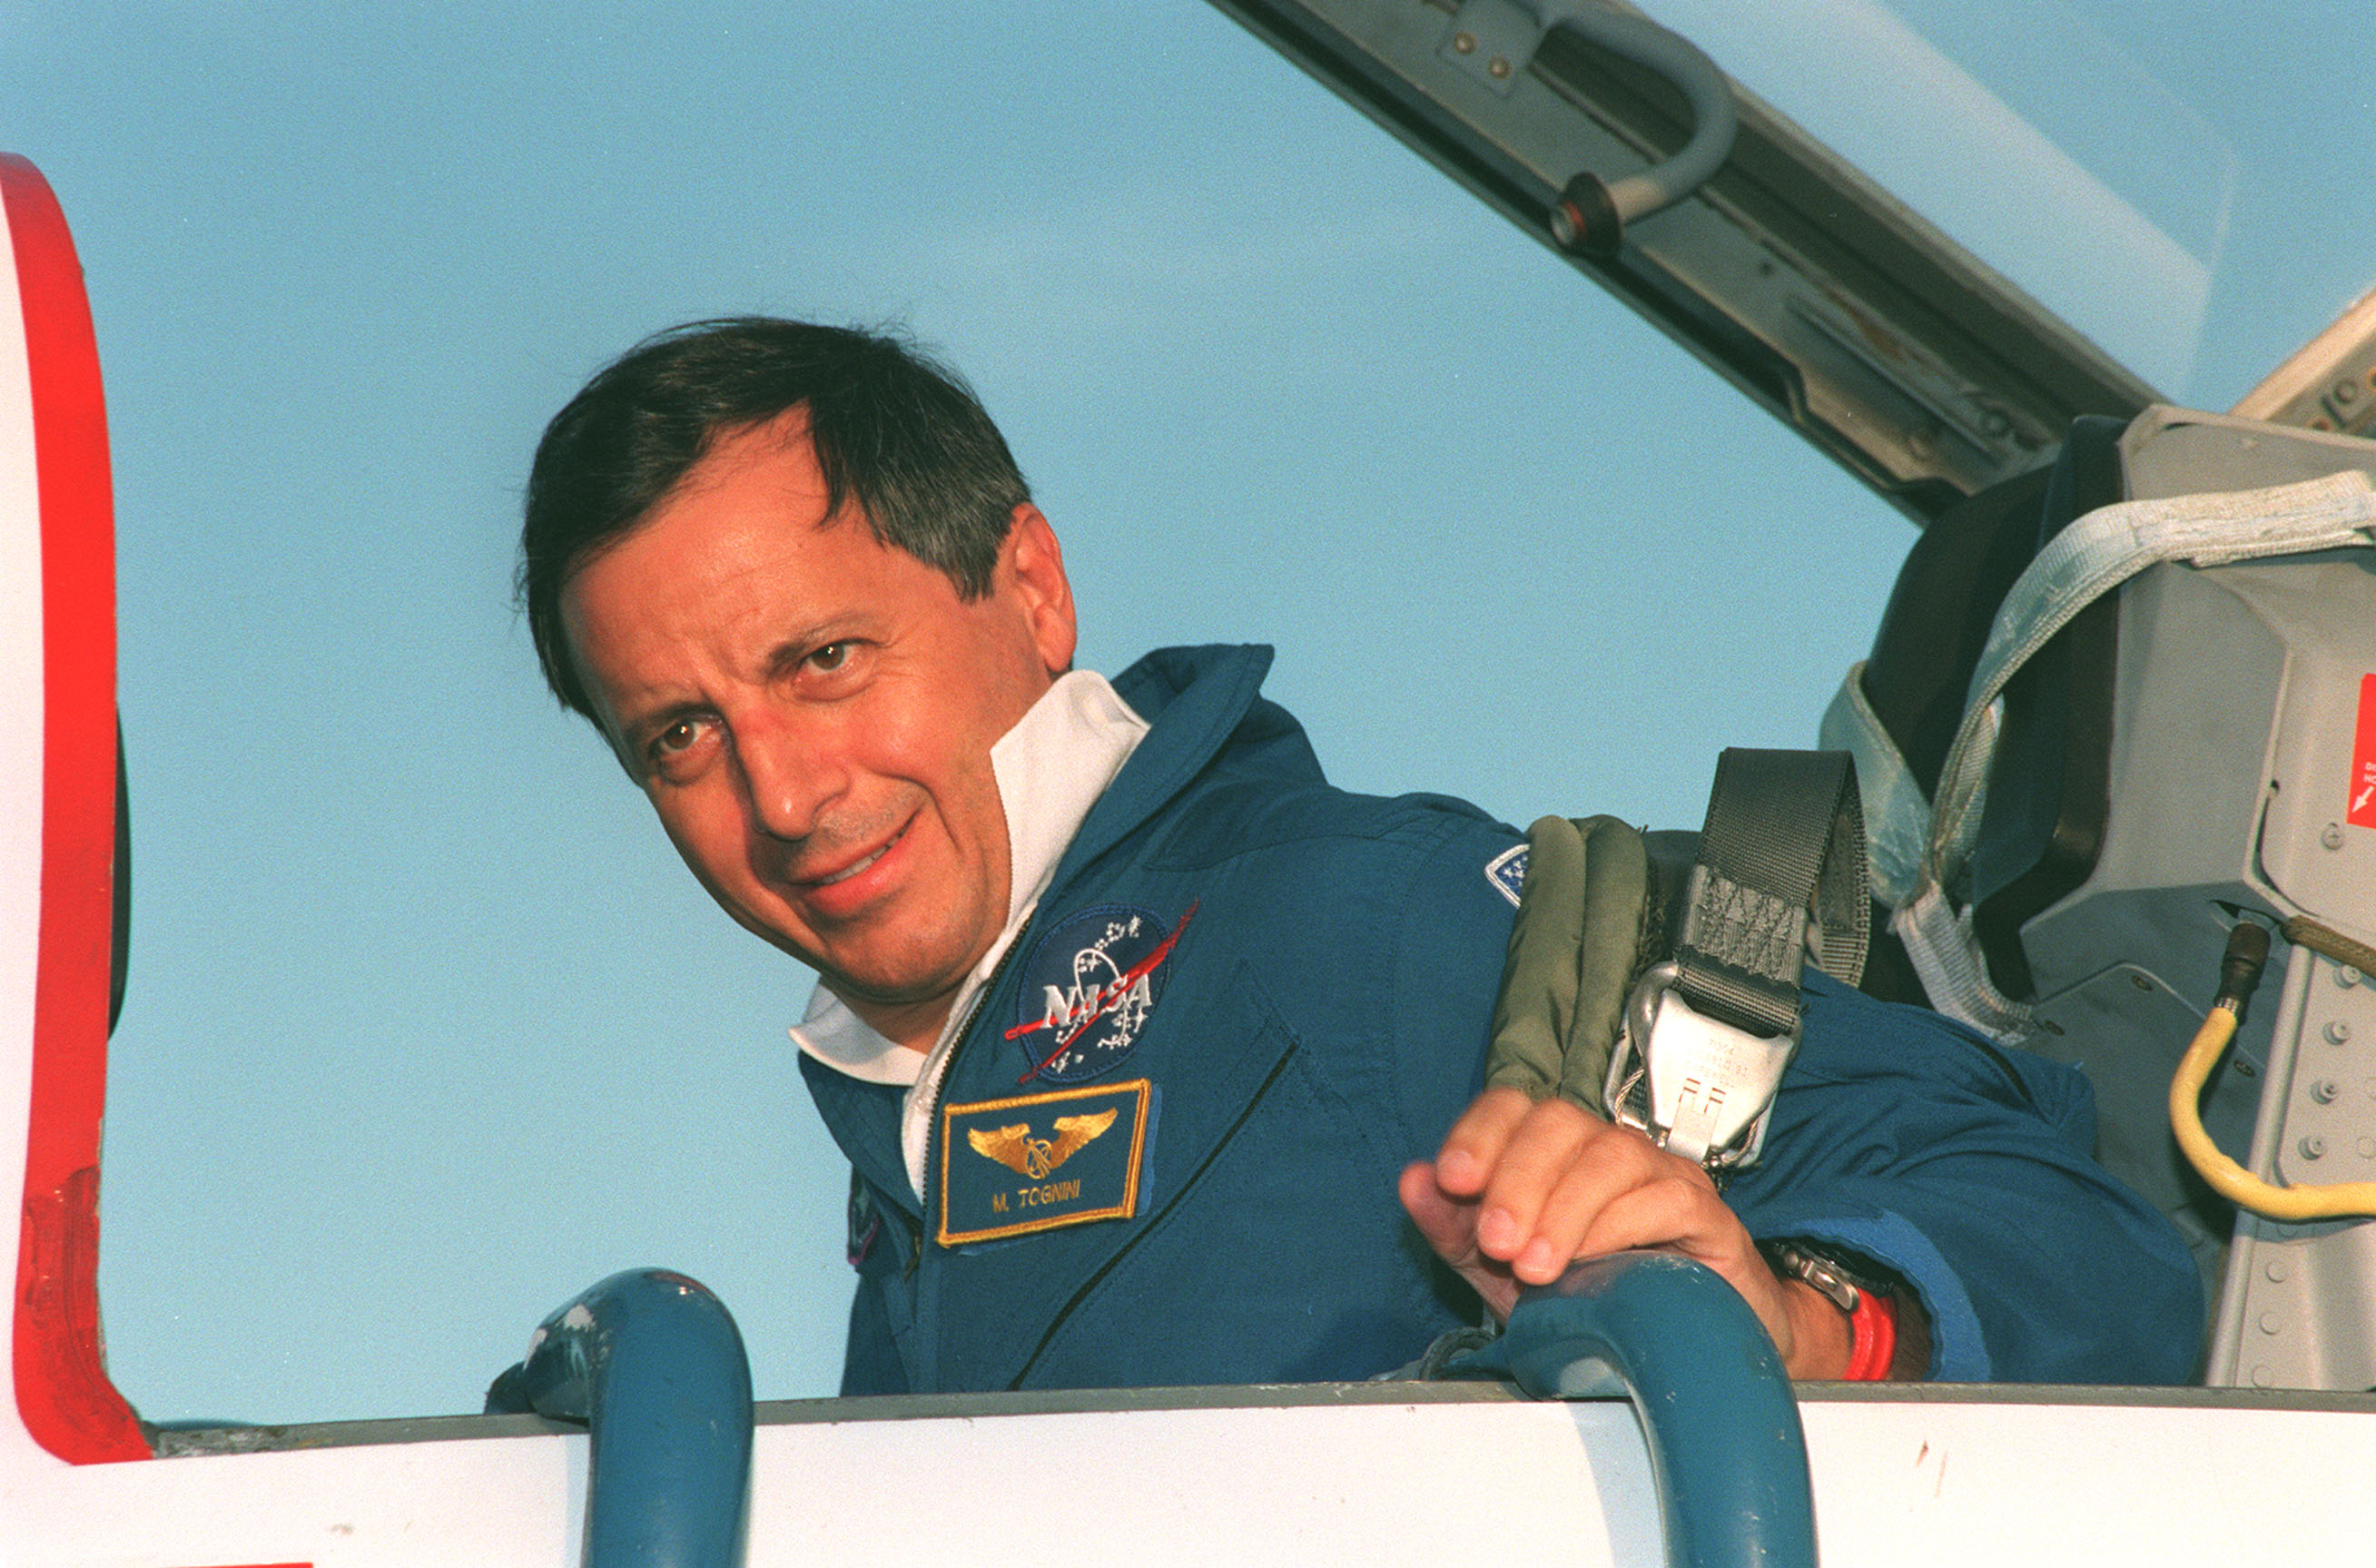
- KSC-99PP-0712 - (L,M,H) - STS-93 Mission Specialist Tognini arrives at KSC for TCDT activities
- KSC-99PP-0713 - (L,M,H) - STS-93 Mission Specialist Hawley arrives at KSC for TCDT activities
- KSC-99PP-0714 - (L,M,H) - STS-93 Commander Collins talks to reporters at SLF
- KSC-99PP-0715 - (L,M,H) - The STS-93 crew talk to reporters at SLF.
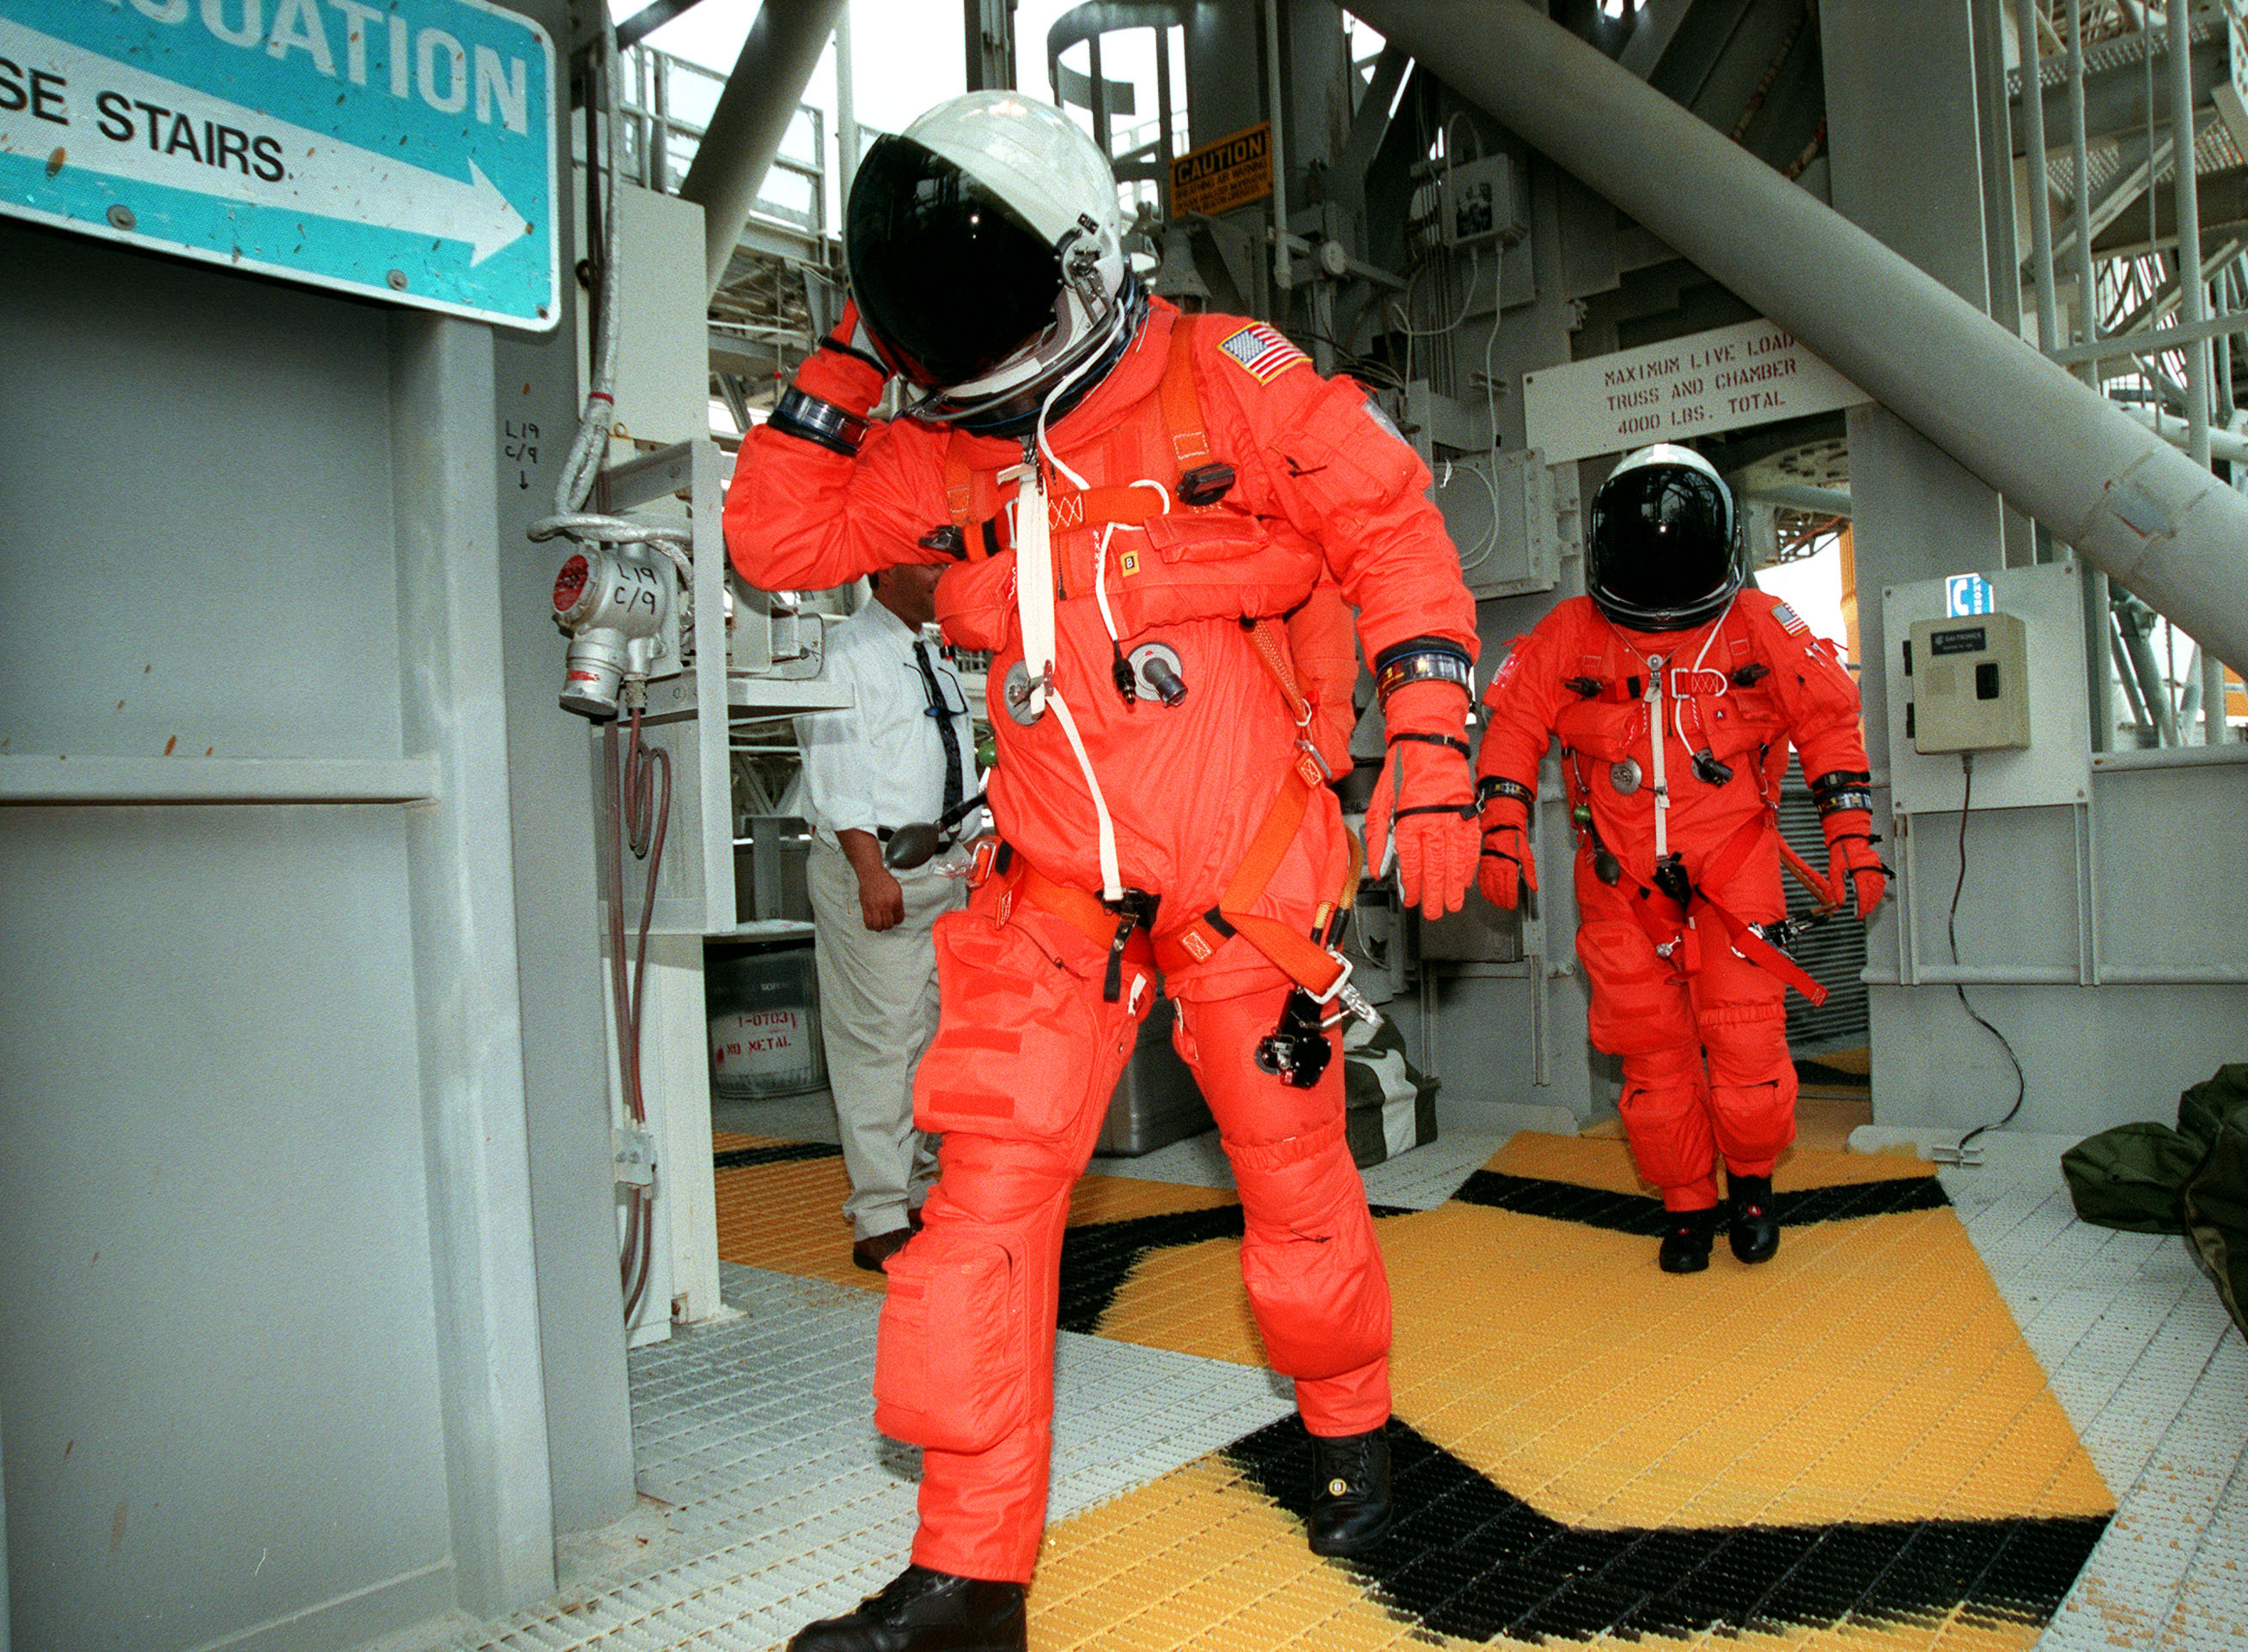
- KSC-99PP-0723 - (L,M,H) - STS-93 crew practices emergency egress training from Launch Pad 39B
- KSC-99PP-0724 - (L,M,H) - The STS-93 crew practice emergency egress training from Launch Pad 39B.
- KSC-99PP-0725 - (L,M,H) - STS-93 M.S. Tognini and Commander Collins take part in emergency egress training
- KSC-99PP-0726 - (L,M,H) - STS-93 Commander Collins takes part in emergency egress training
- KSC-99PP-0727 - (L,M,H) - STS-93 Pilot Ashby takes part in emergency egress training
- KSC-99PP-0728 - (L,M,H) - STS-93 Mission Specialist Tognini takes part in emergency egress training
- KSC-99PP-0729 - (L,M,H) - STS-93 Mission Specialist Coleman takes part in emergency egress training
- KSC-99PP-0730 - (L,M,H) - STS-93 Mission Specialist Coleman drives an M-113 during training
- KSC-99PP-0731 - (L,M,H) - STS-93 Mission Specialist Hawley takes part in emergency egress
- KSC-99PP-0732 - (L,M,H) - STS-93 Mission Specialist Tognini drives an M-113 during training
- KSC-99PP-0733 - (L,M,H) - STS-93 MS Coleman takes part in suit check in the O&C Bldg.
- KSC-99PP-0734 - (L,M,H) - STS-93 MS Hawley takes part in suit check in the O&C Bldg.
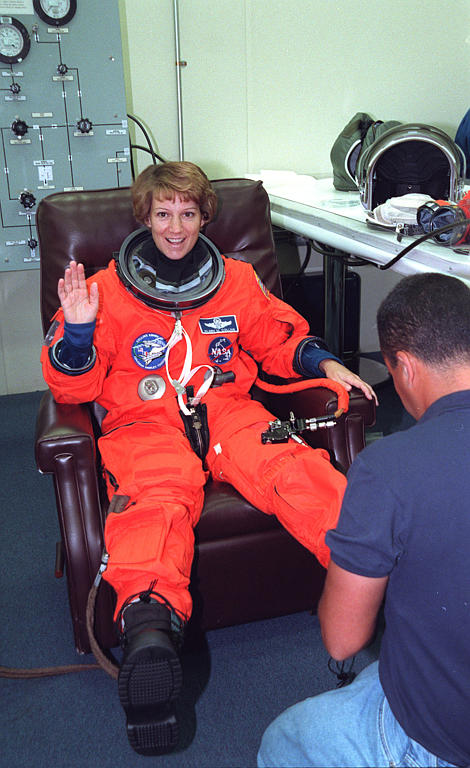
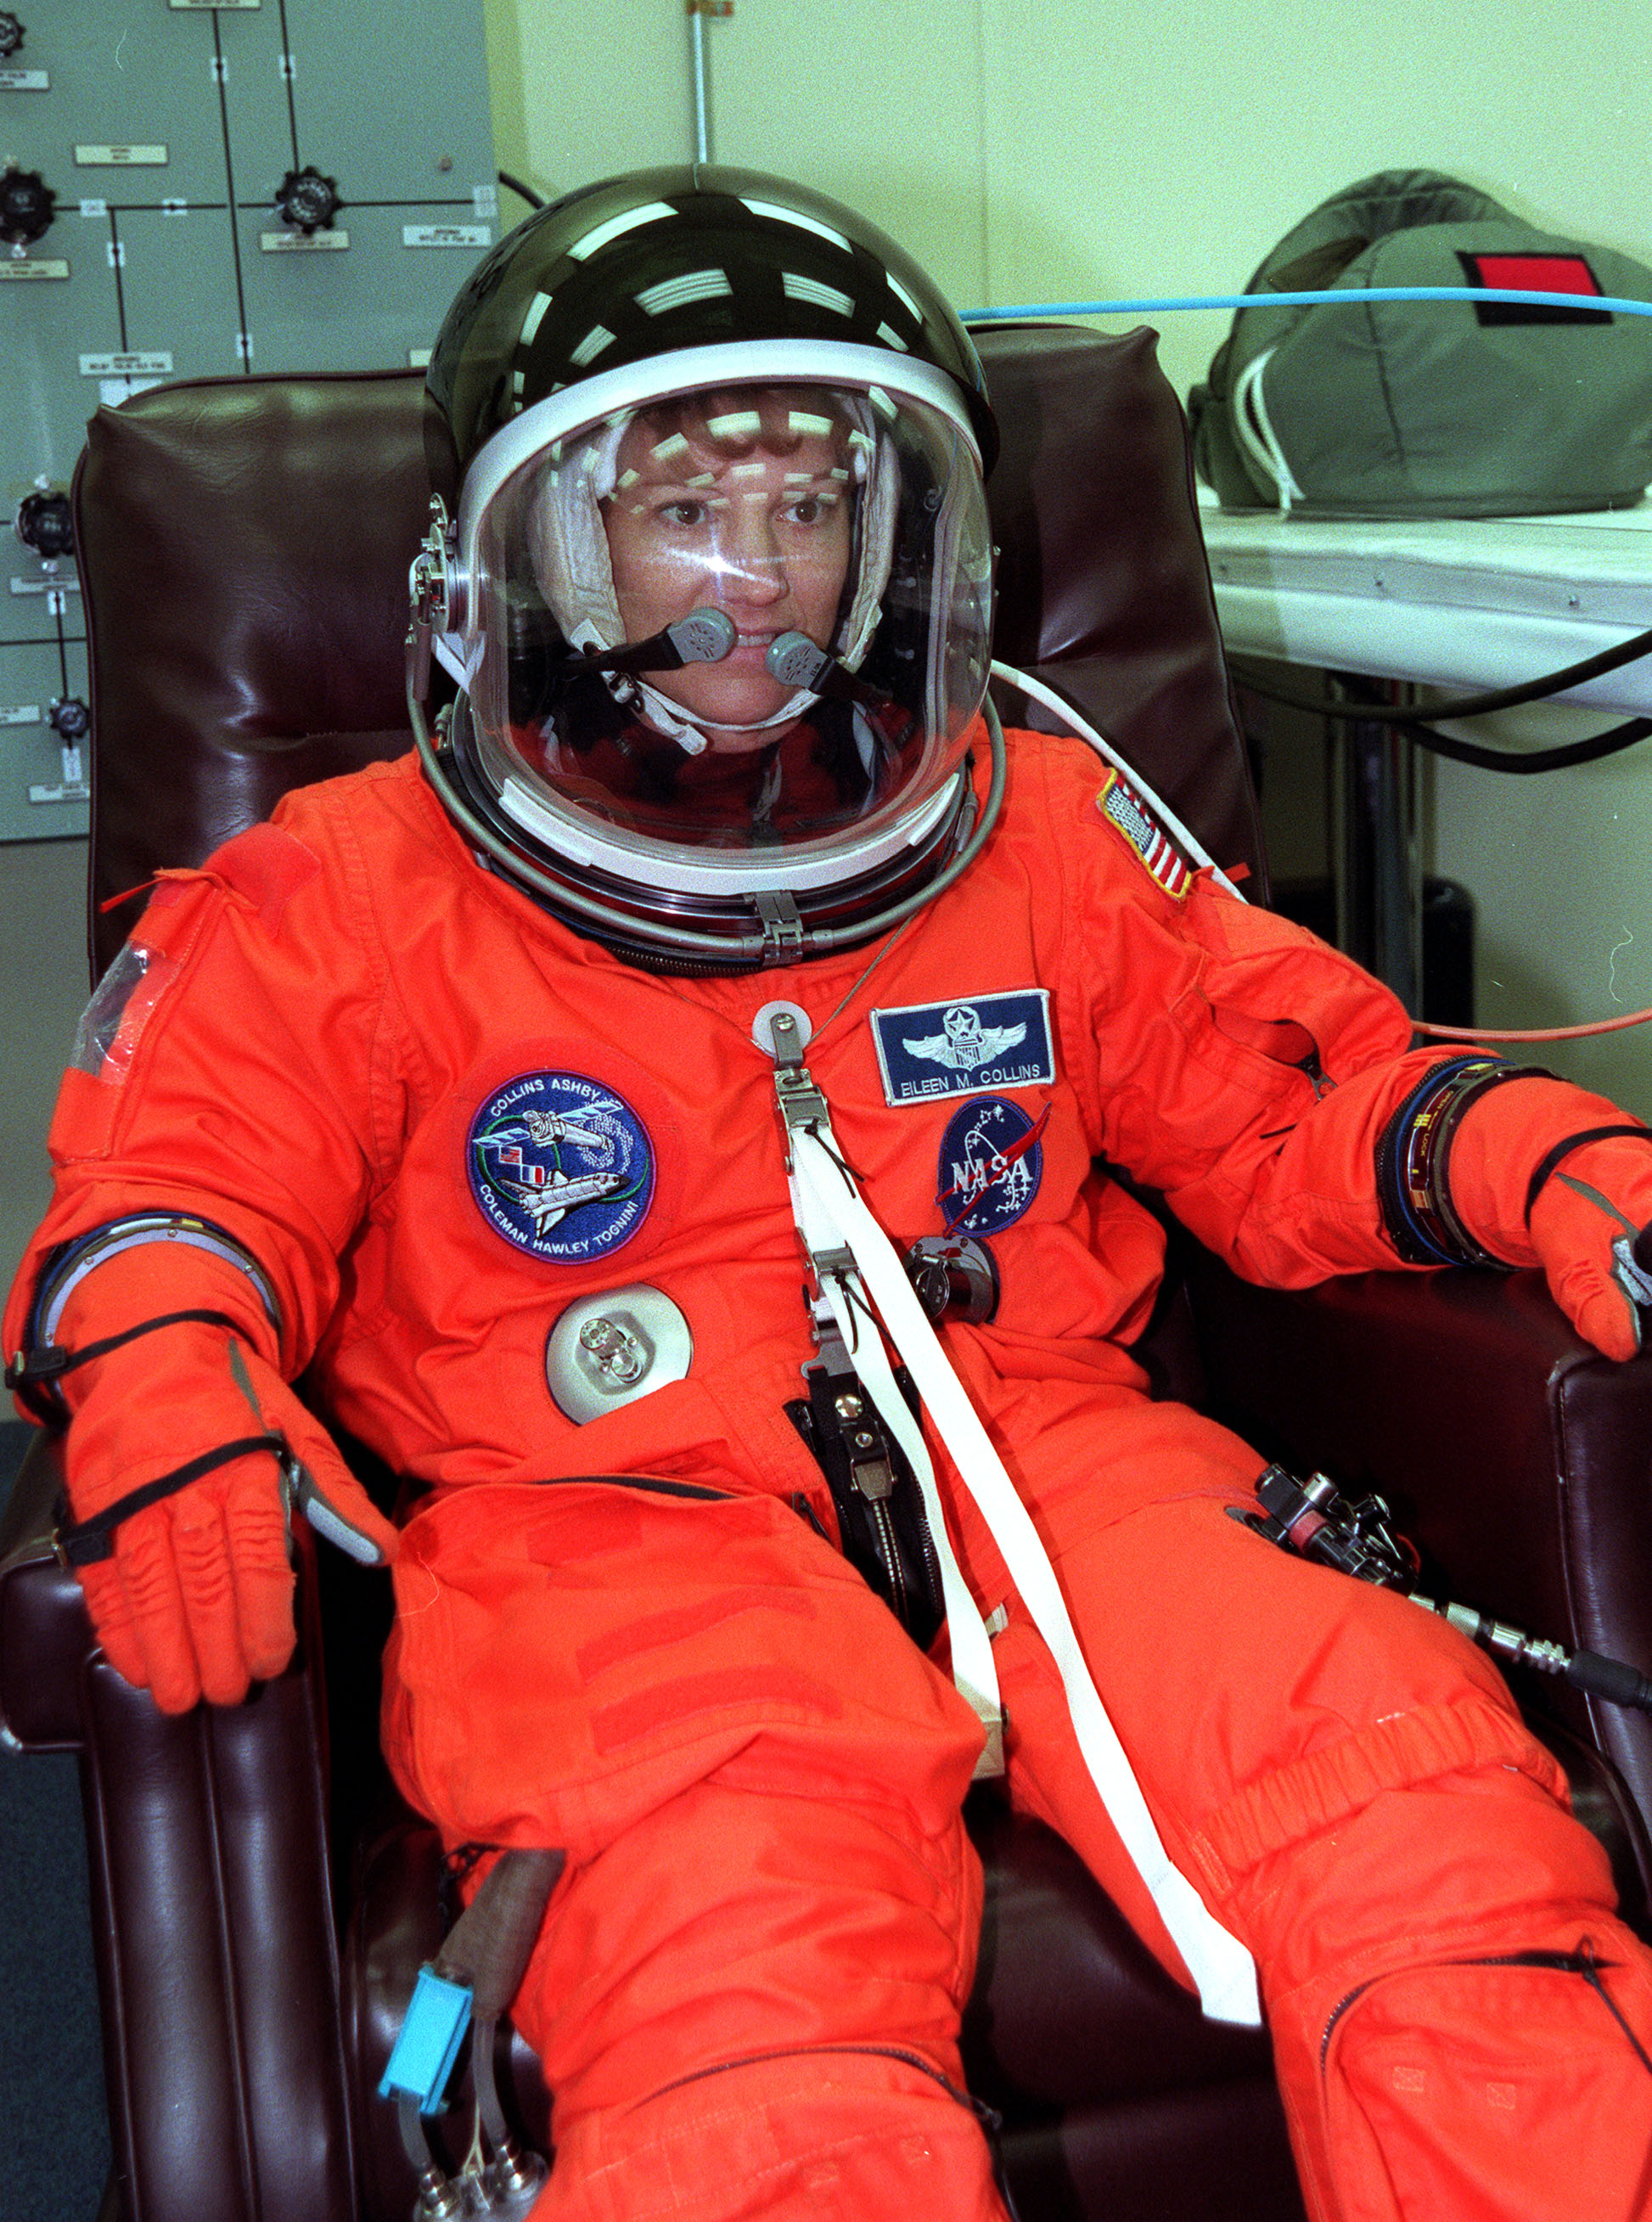
- KSC-99PP-0735 - (L,M,H) - STS-93 Commander Collins takes part in suit check in the O&C Bldg.
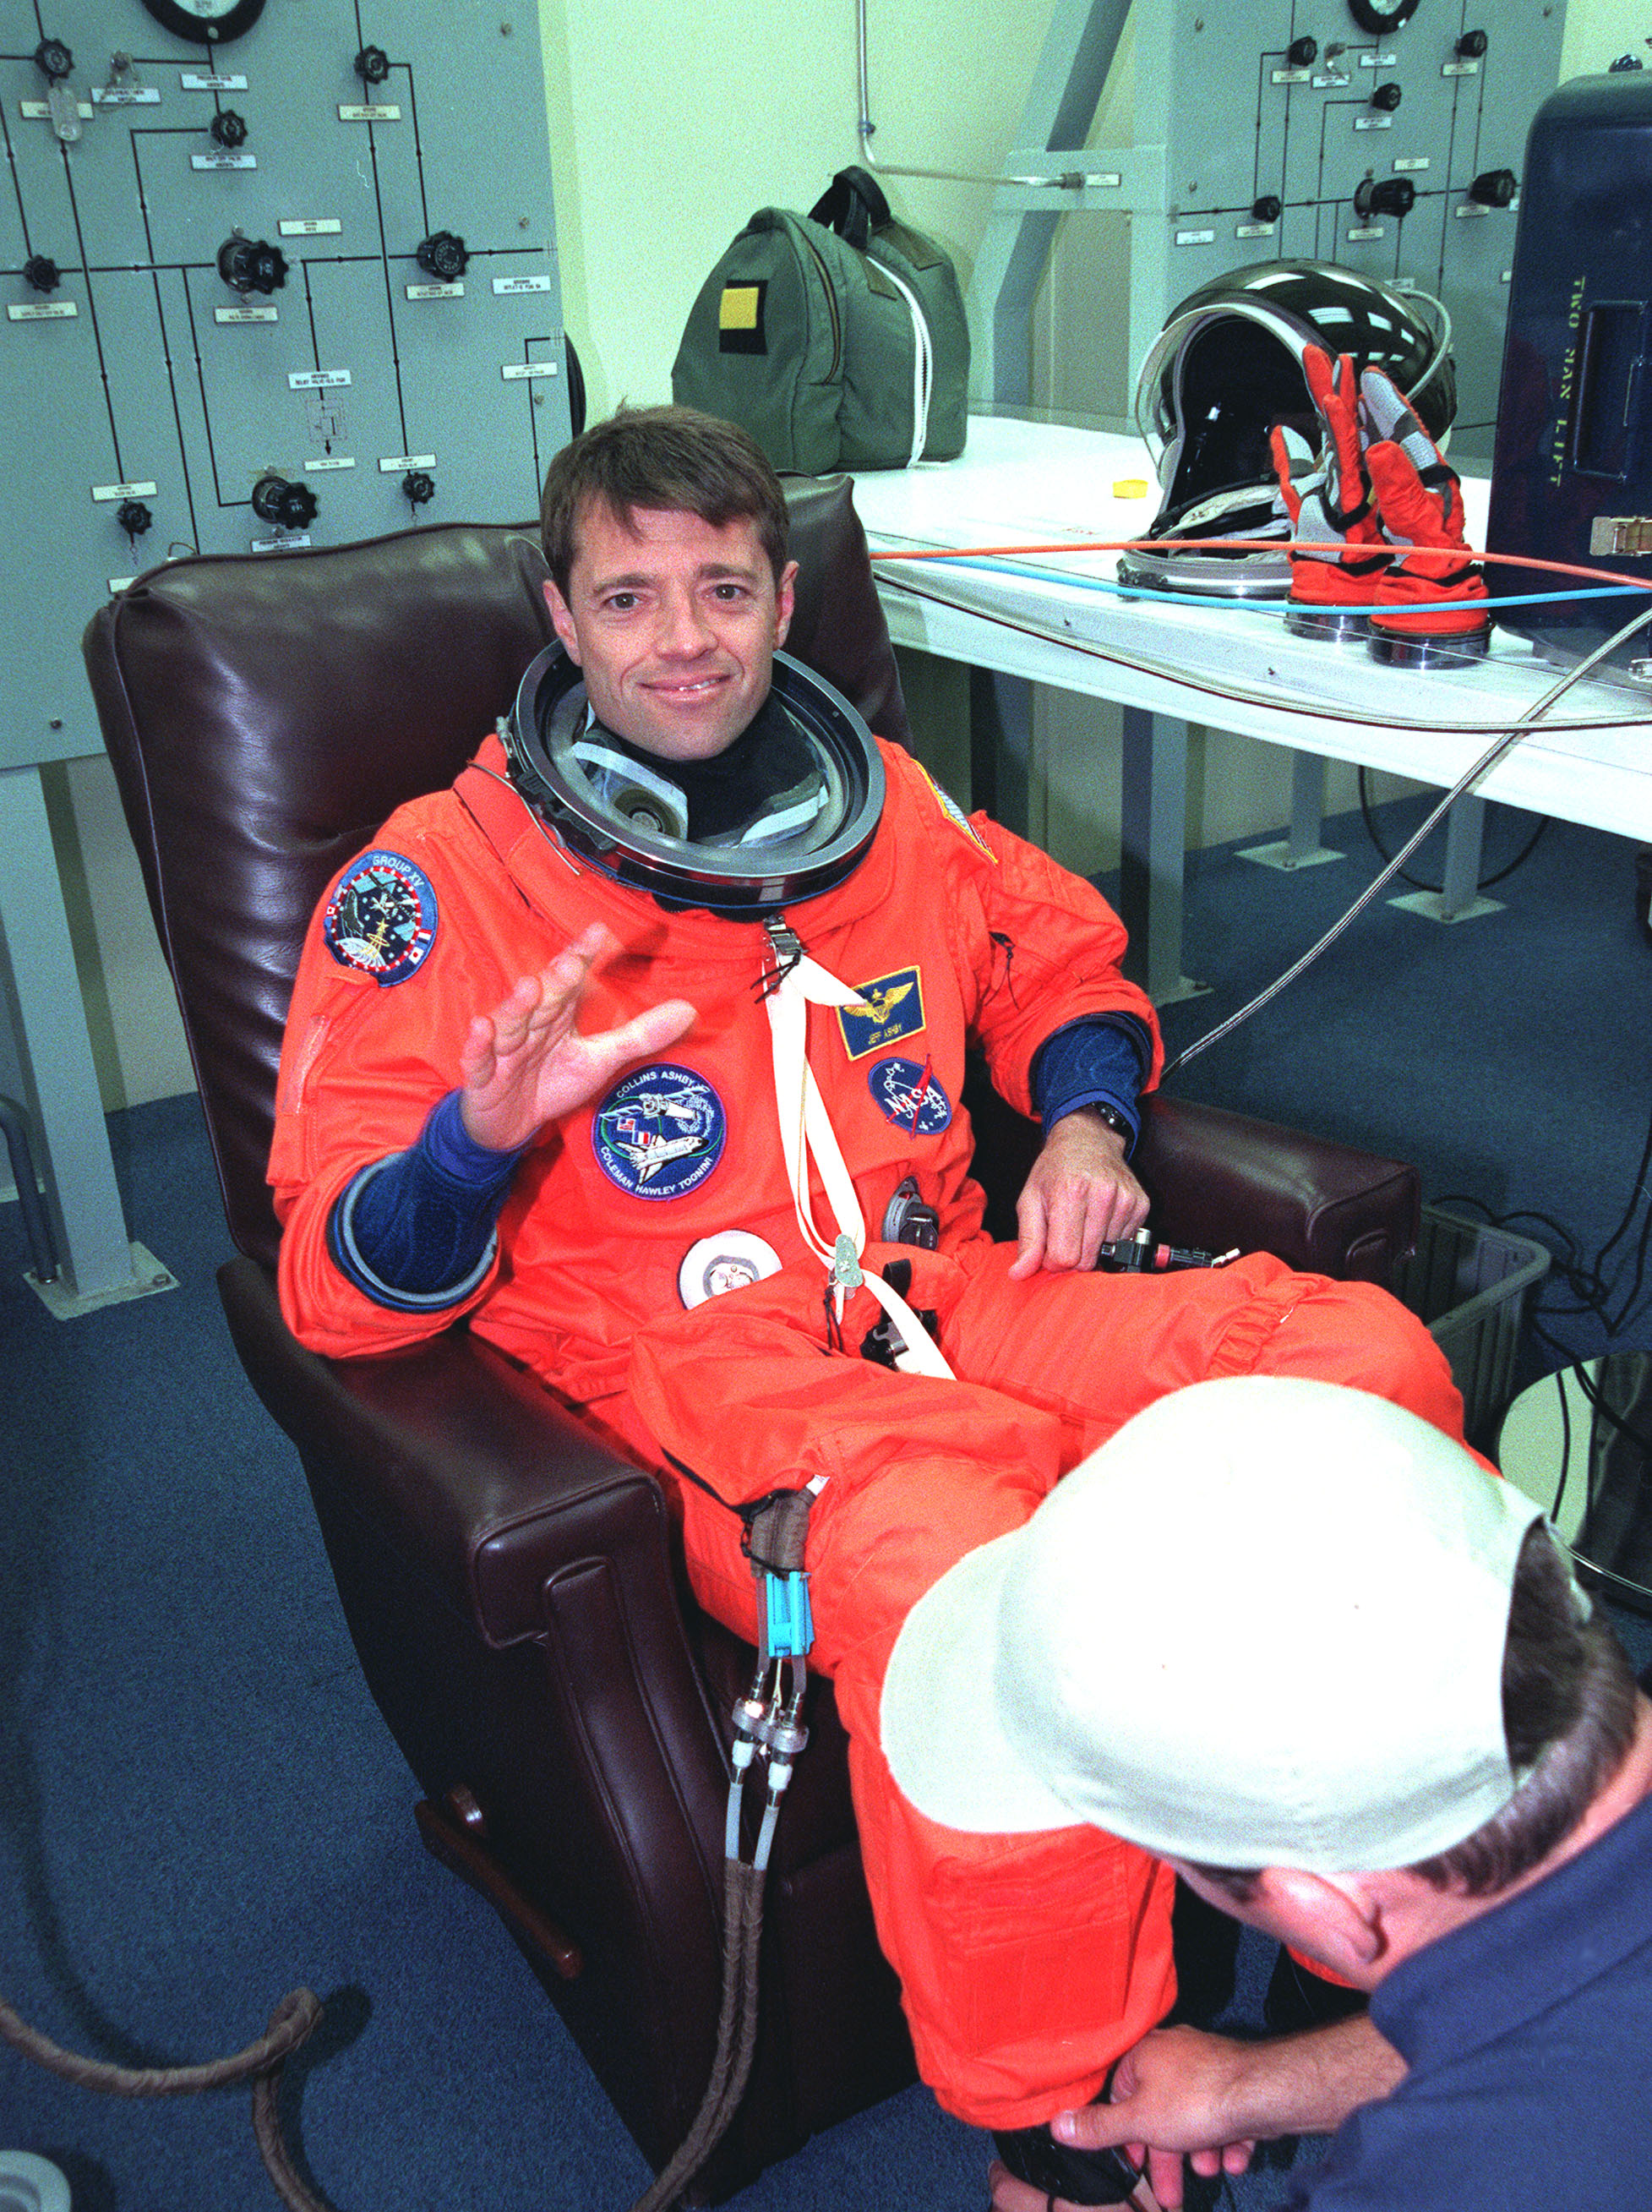
- KSC-99PP-0736 - (L,M,H) - STS-93 Pilot Ashby takes part in suit check in the O&C Bldg.
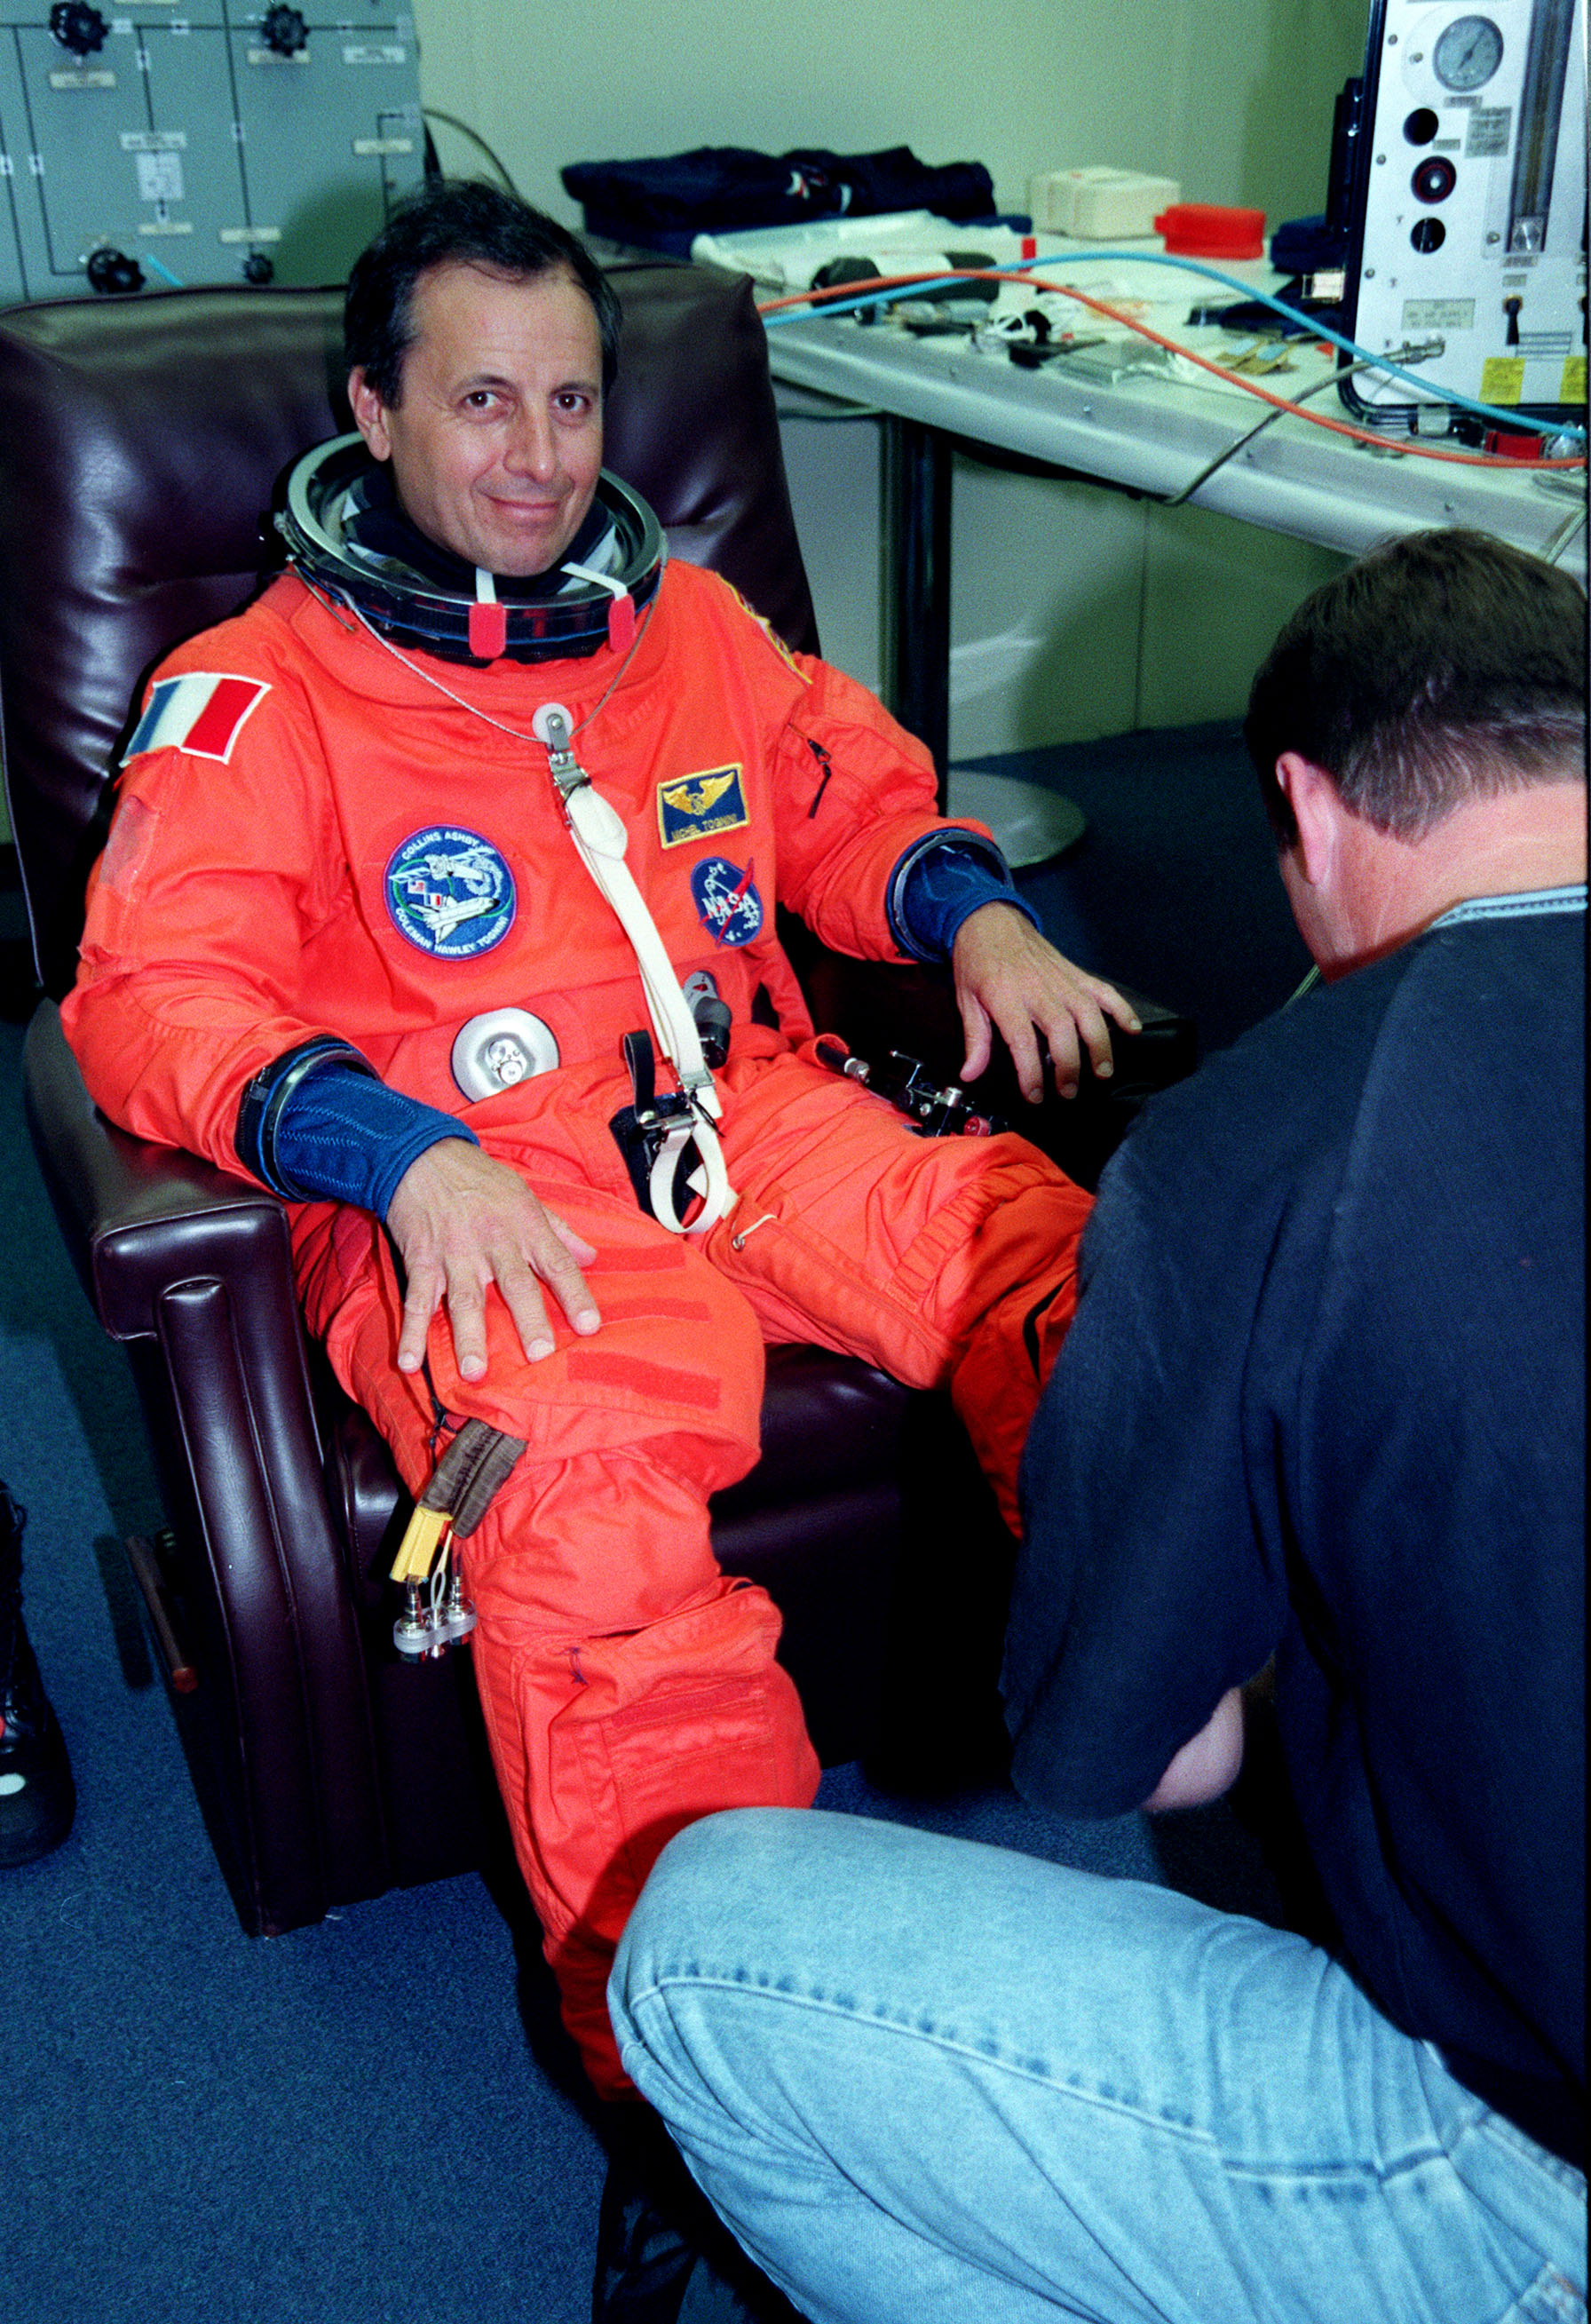
- KSC-99PP-0737 - (L,M,H) - STS-93 MS Tognini takes part in suit check in the O&C Bldg.
- KSC-99PP-0738 - (L,M,H) - STS-93 MS Tognini tries on his helmet in the O&C Bldg.
- KSC-99PP-0744 - (L,M,H) - STS-93 crew pose on launch pad 39-B
- KSC-99PP-0745 - (L,M,H) - STS-93 crew pose in White Room at launch pad 39-B
- KSC-99PP-0746 - (L,M,H) - STS-93 MS Coleman takes in view from 195-foot level of launch pad
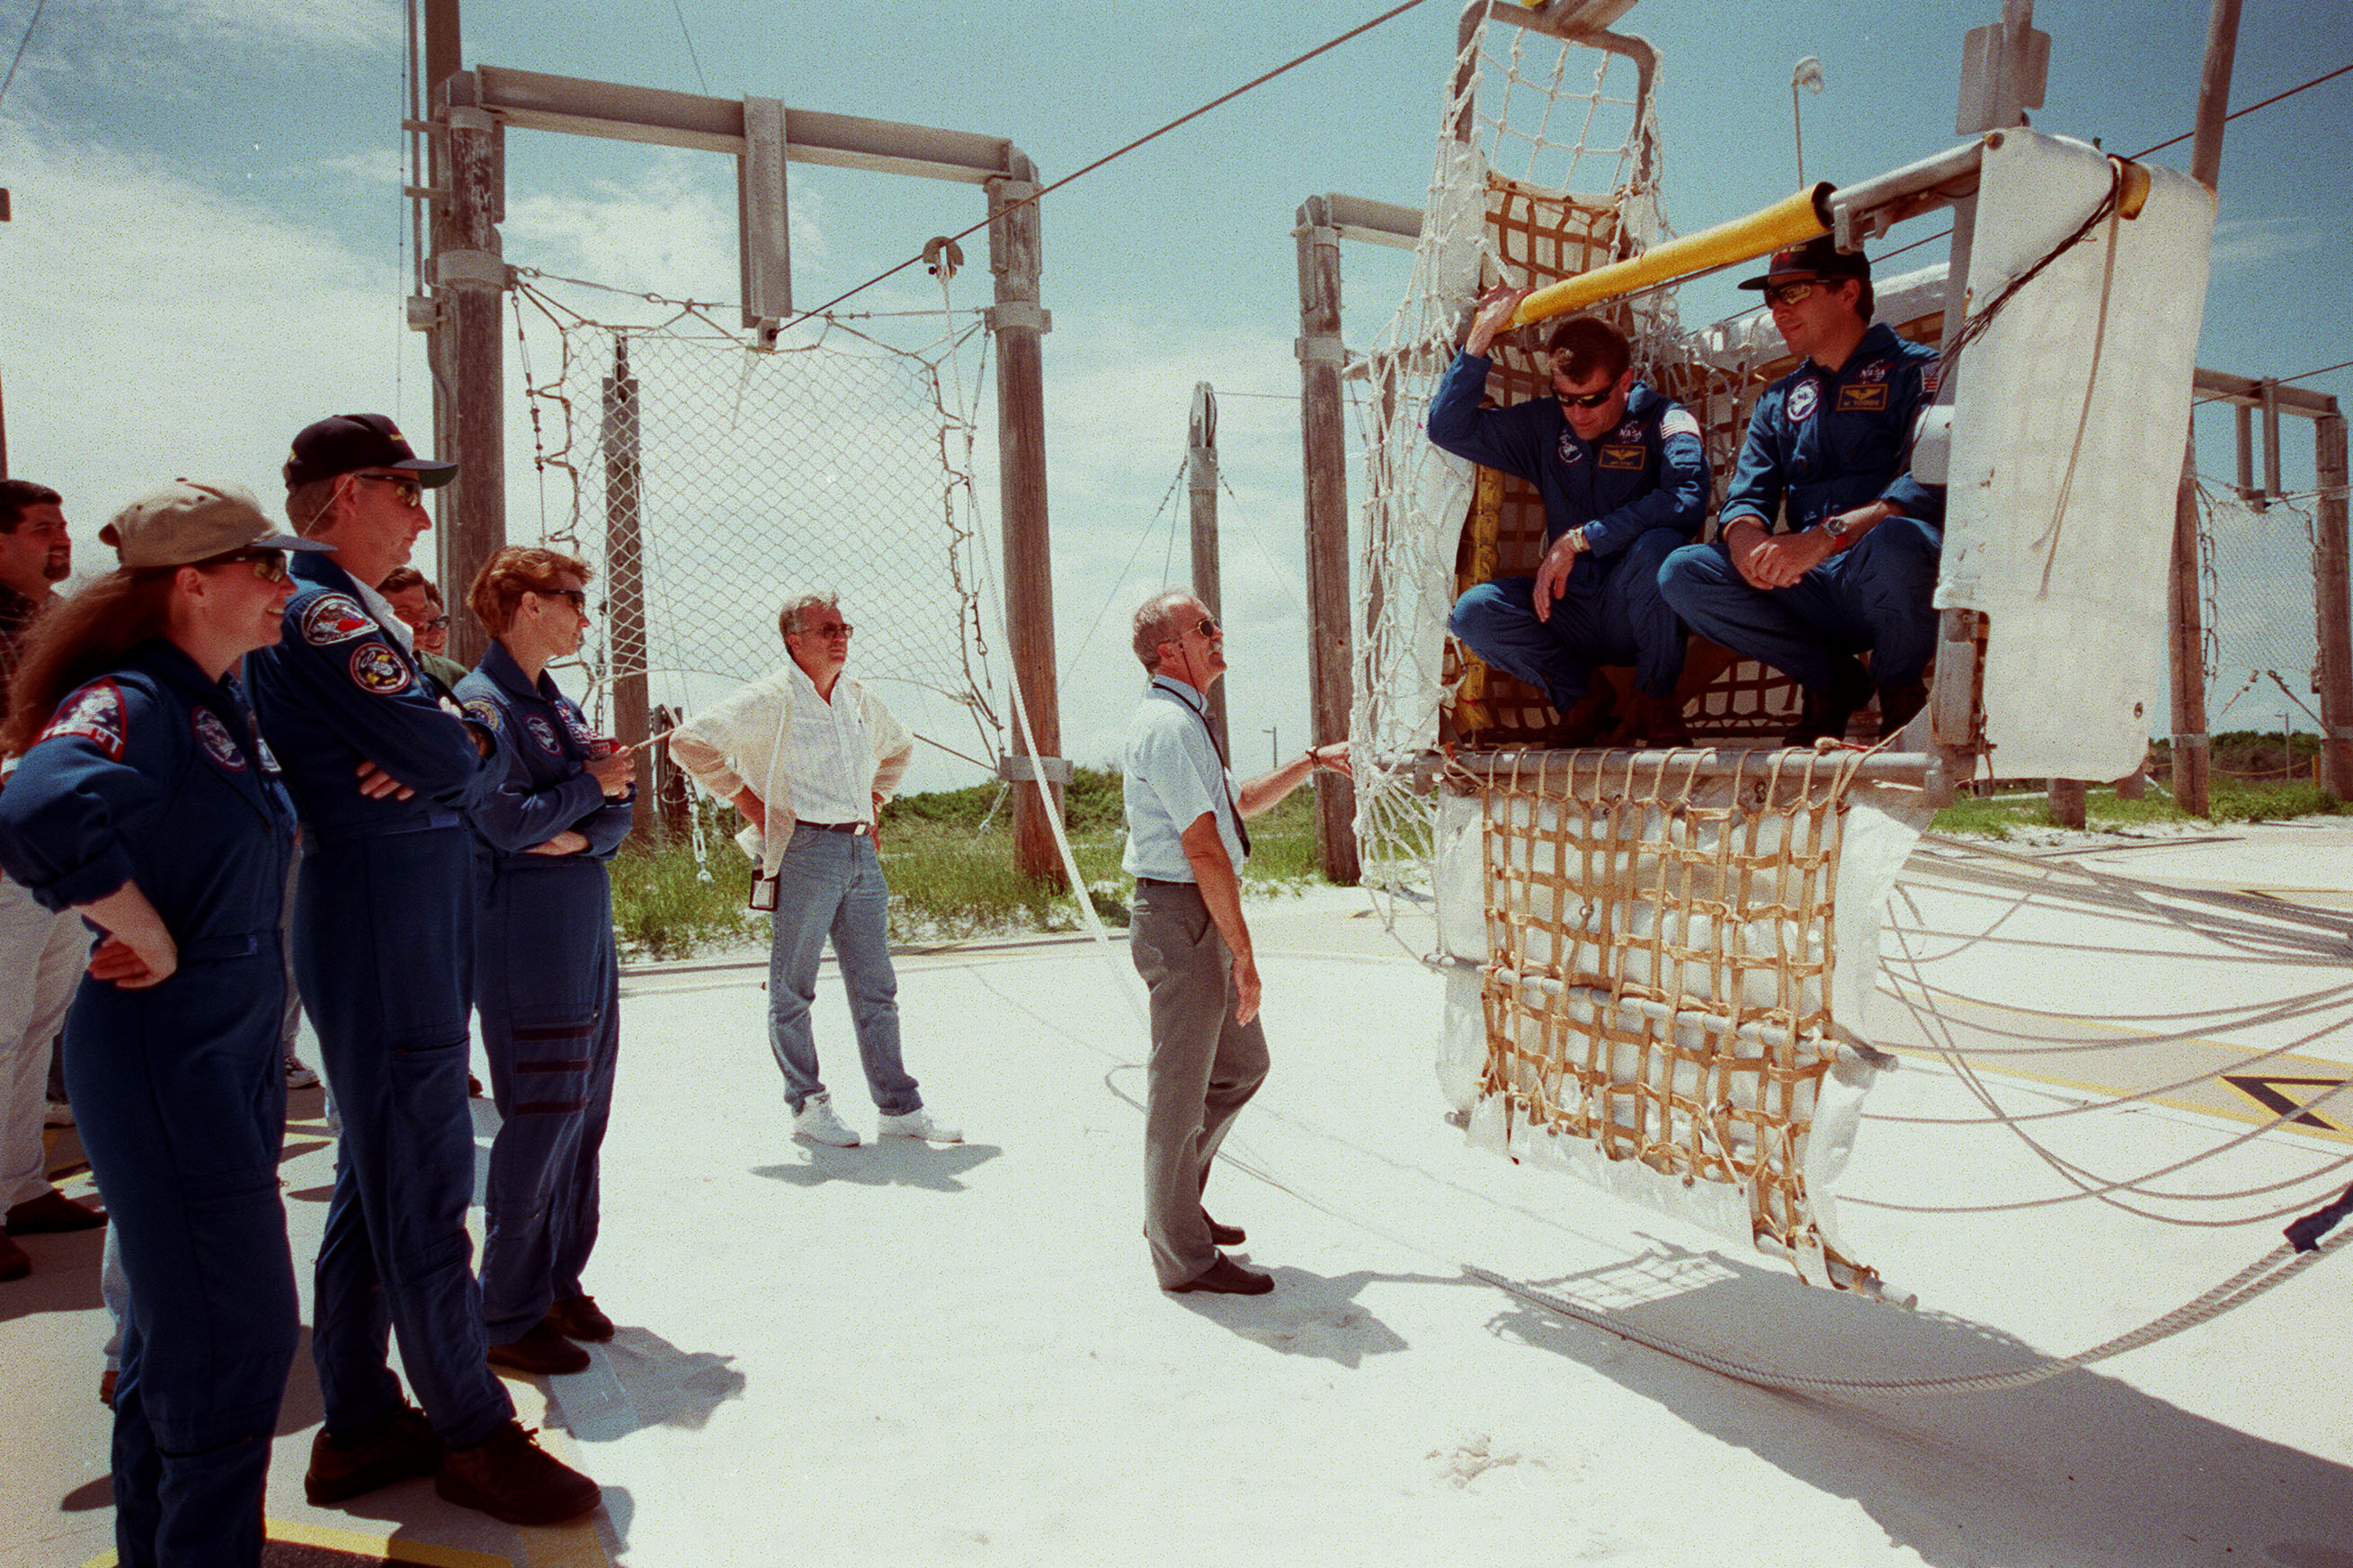
- KSC-99PP-0747 - (L,M,H) - STS-93 crew gets instruction on slidewire basket for emergency egress at pad
- KSC-99PP-0748 - (L,M,H) - STS-93 Commander Collins and crew talk to press at emergency egress site
- KSC-99PP-0749 - (L,M,H) - STS-93 crew leaves the O&C Bldg. for the launch pad during TCDT
- KSC-99PP-0753 - (L,M,H) - STS-93 crew leaves the O&C Bldg. for the launch pad during TCDT
- KSC-99PP-0754 - (L,M,H) - STS-93 crew pose at the launch pad
- KSC-99PP-0755 - (L,M,H) - STS-93 M.S. Tognini pauses during emergency egress exercise
- KSC-99PP-0756 - (L,M,H) - STS-93 crew pose on the fixed service structure
- KSC-99PP-0757 - (L,M,H) - STS-93 crew members take part in an emergency egress exercise
- KSC-99PP-0758 - (L,M,H) - STS-93 crew members take part in an emergency egress exercise
- KSC-99PP-0759 - (L,M,H) - STS-93 crew members take part in an emergency egress exercise
- KSC-99PP-0760 - (L,M,H) - STS-93 crew members take part in an emergency egress exercise
- KSC-99PP-0761 - (L,M,H) - STS-93 crew members take part in an emergency egress exercise
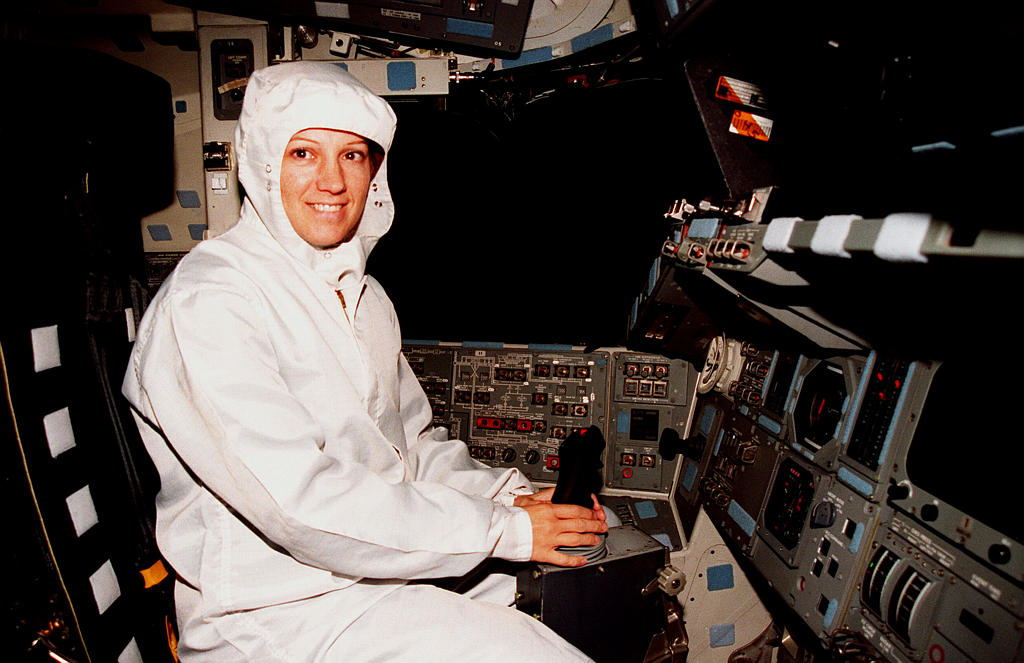
- KSC-99PP-0762 - (L,M,H) - M.S. Coleman sits inside the orbiter Columbia
- KSC-99PP-0763 - (L,M,H) - STS-93 Commander Collins on the flight deck in Columbia
- KSC-99PP-0764 - (L,M,H) - The payload canister carrying STS-93 Chandra arrives at launch pad
- KSC-99PP-0765 - (L,M,H) - The payload canister carrying STS-93 Chandra arrives at launch pad
- KSC-99PP-0766 - (L,M,H) - The payload canister carrying STS-93 Chandra arrives at launch pad
- KSC-99PP-0767 - (L,M,H) - The payload canister carrying STS-93 Chandra arrives at launch pad
- KSC-99PP-0768 - (L,M,H) - The payload canister carrying STS-93 Chandra arrives at launch pad
- KSC-99PP-0769 - (L,M,H) - The payload canister carrying STS-93 Chandra arrives at launch pad
- KSC-99PP-0770 - (L,M,H) - The payload canister carrying STS-93 Chandra arrives at launch pad
- KSC-99PP-0771 - (L,M,H) - STS-93 Chandra X-ray Observatory is moved into the payload bay of Columbia
- KSC-99PP-0772 - (L,M,H) - STS-93 Chandra X-ray Observatory is moved into the payload bay of Columbia
- KSC-99PP-0822 - (L,M,H) - STS-93 Commander Collins arrives at SLF for launch
- KSC-99PP-0823 - (L,M,H) - STS-93 Pilot Ashby arrives at SLF for launch
- KSC-99PP-0824 - (L,M,H) - STS-93 Mission Specialist Tognini arrives at SLF for launch
- KSC-99PP-0825 - (L,M,H) - STS-93 Mission Specialist Coleman arrives at SLF for launch
- KSC-99PP-0826 - (L,M,H) - STS-93 Commander Collins is greeted by Center Director Bridges
- KSC-99PP-0827 - (L,M,H) - STS-93 crew speak to media after arrival at SLF for launch
- KSC-99PP-0828 - (L,M,H) - STS-93 Collins poses for photographers after arrival at SLF for launch
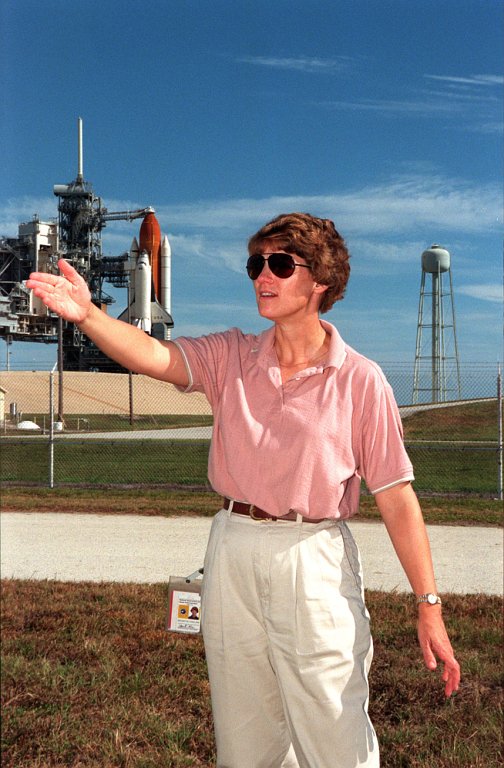
- KSC-99PP-0829 - (L,M,H) - STS-93 Collins scans morning sky arrival at SLF for launch
- KSC-99PP-0830 - (L,M,H) - STS-93 crew leaves SLF after arrival for launch
- KSC-99PP-0851 - (L,M,H) - STS-93 Chandra Observatory is enclosed in Columbia's payload bay.
- KSC-99PP-0852 - (L,M,H) - STS-93 Chandra Observatory is enclosed in Columbia's payload bay.
- KSC-99PP-0853 - (L,M,H) - STS-93 Chandra Observatory is enclosed in Columbia's payload bay.
- KSC-99PP-0854 - (L,M,H) - STS-93 Chandra Observatory is enclosed in Columbia's payload bay.
- KSC-99PP-0861 - (L,M,H) - STS-93 RSS rollback from Columbia at Launch Pad 39-B
- KSC-99PP-0862 - (L,M,H) - STS-93 RSS rollback from Columbia at Launch Pad 39-B
- KSC-99PP-0863 - (L,M,H) - STS-93 RSS rollback from Columbia at Launch Pad 39-B
- KSC-99PP-0864 - (L,M,H) - STS-93 RSS rollback from Columbia at Launch Pad 39-B
- KSC-99PP-0865 - (L,M,H) - STS-93 Commander Eileen Collins waves to her family
- KSC-99PP-0866 - (L,M,H) - STS-93 crew gather for breakfast before launch
- KSC-99PP-0867 - (L,M,H) - STS-93 Mission Specialist Hawley suits up for launch
- KSC-99PP-0868 - (L,M,H) - STS-93 Commander Collins suits up for launch
- KSC-99PP-0869 - (L,M,H) - STS-93 Mission Specialist Tognini suits up for launch
- KSC-99PP-0870 - (L,M,H) - STS-93 Pilot Ashby suits up for launch
- KSC-99PP-0871 - (L,M,H) - STS-93 Mission Specialist Coleman suits up for launch
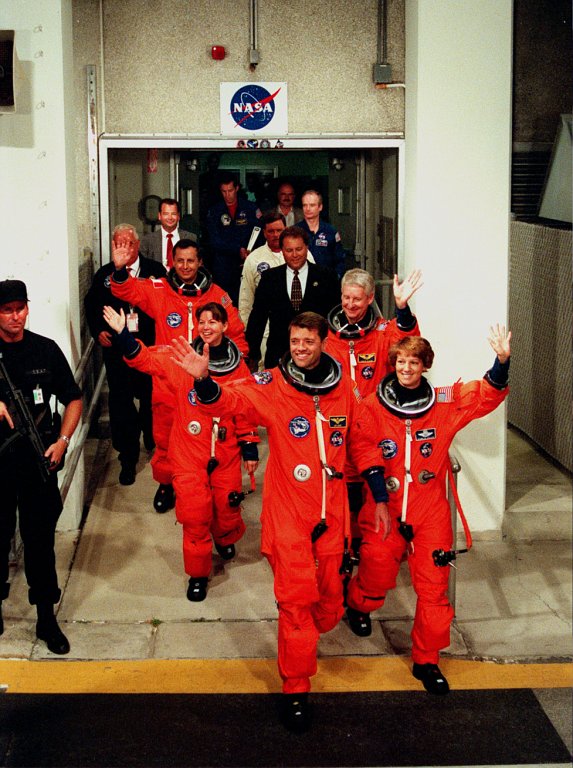
- KSC-99PP-0872 - (L,M,H) - STS-93 crew walk out from O&C Bldg. to head for Launch Complex 39
- KSC-99PP-0873 - (L,M,H) - STS-93 crew head for bus to carry them to Launch Complex 39
- KSC-99PP-0914 - (L,M,H) - STS-93 crew gathers for pre-launch breakfast in O&C Building
- KSC-99PP-0915 - (L,M,H) - STS-93 Commander Collins suits up before launch
- KSC-99PP-0916 - (L,M,H) - STS-93 Pilot Ashby suits up before launch
- KSC-99PP-0917 - (L,M,H) - STS-93 Mission Specialist Tognini suits up before launch
- KSC-99PP-0918 - (L,M,H) - STS-93 Mission Specialist Coleman suits up before launch
- KSC-99PP-0919 - (L,M,H) - STS-93 Commander Collins waves after suiting up before launch
- KSC-99PP-0920 - (L,M,H) - STS-93 M.S. Hawley suits up for launch
- KSC-99PP-0941 - (L,M,H) - STS-93 crew have breakfast before launch in O&C Building
- KSC-99PP-0942 - (L,M,H) - STS-93 Mission Specialist Cady Coleman suits up for launch
- KSC-99PP-0943 - (L,M,H) - STS-93 Commander Eileen Collins suits up for launch
- KSC-99PP-0944 - (L,M,H) - STS-93 M.S. Michel Tognini suits up before launch
- KSC-99PP-0945 - (L,M,H) - STS-93 Mission Specialist Hawley suits up for launch
- KSC-99PP-0946 - (L,M,H) - STS-93 Commander Collins suits up for launch
- KSC-99PP-0947 - (L,M,H) - STS-93 Pilot Ashby suits up for launch
- KSC-99PP-0948 - (L,M,H) - STS-93 crew heads out of O&C for ride to launch pad
- KSC-99PP-0949 - (L,M,H) - STS-93 crew cheers as they near the van for ride to launch pad
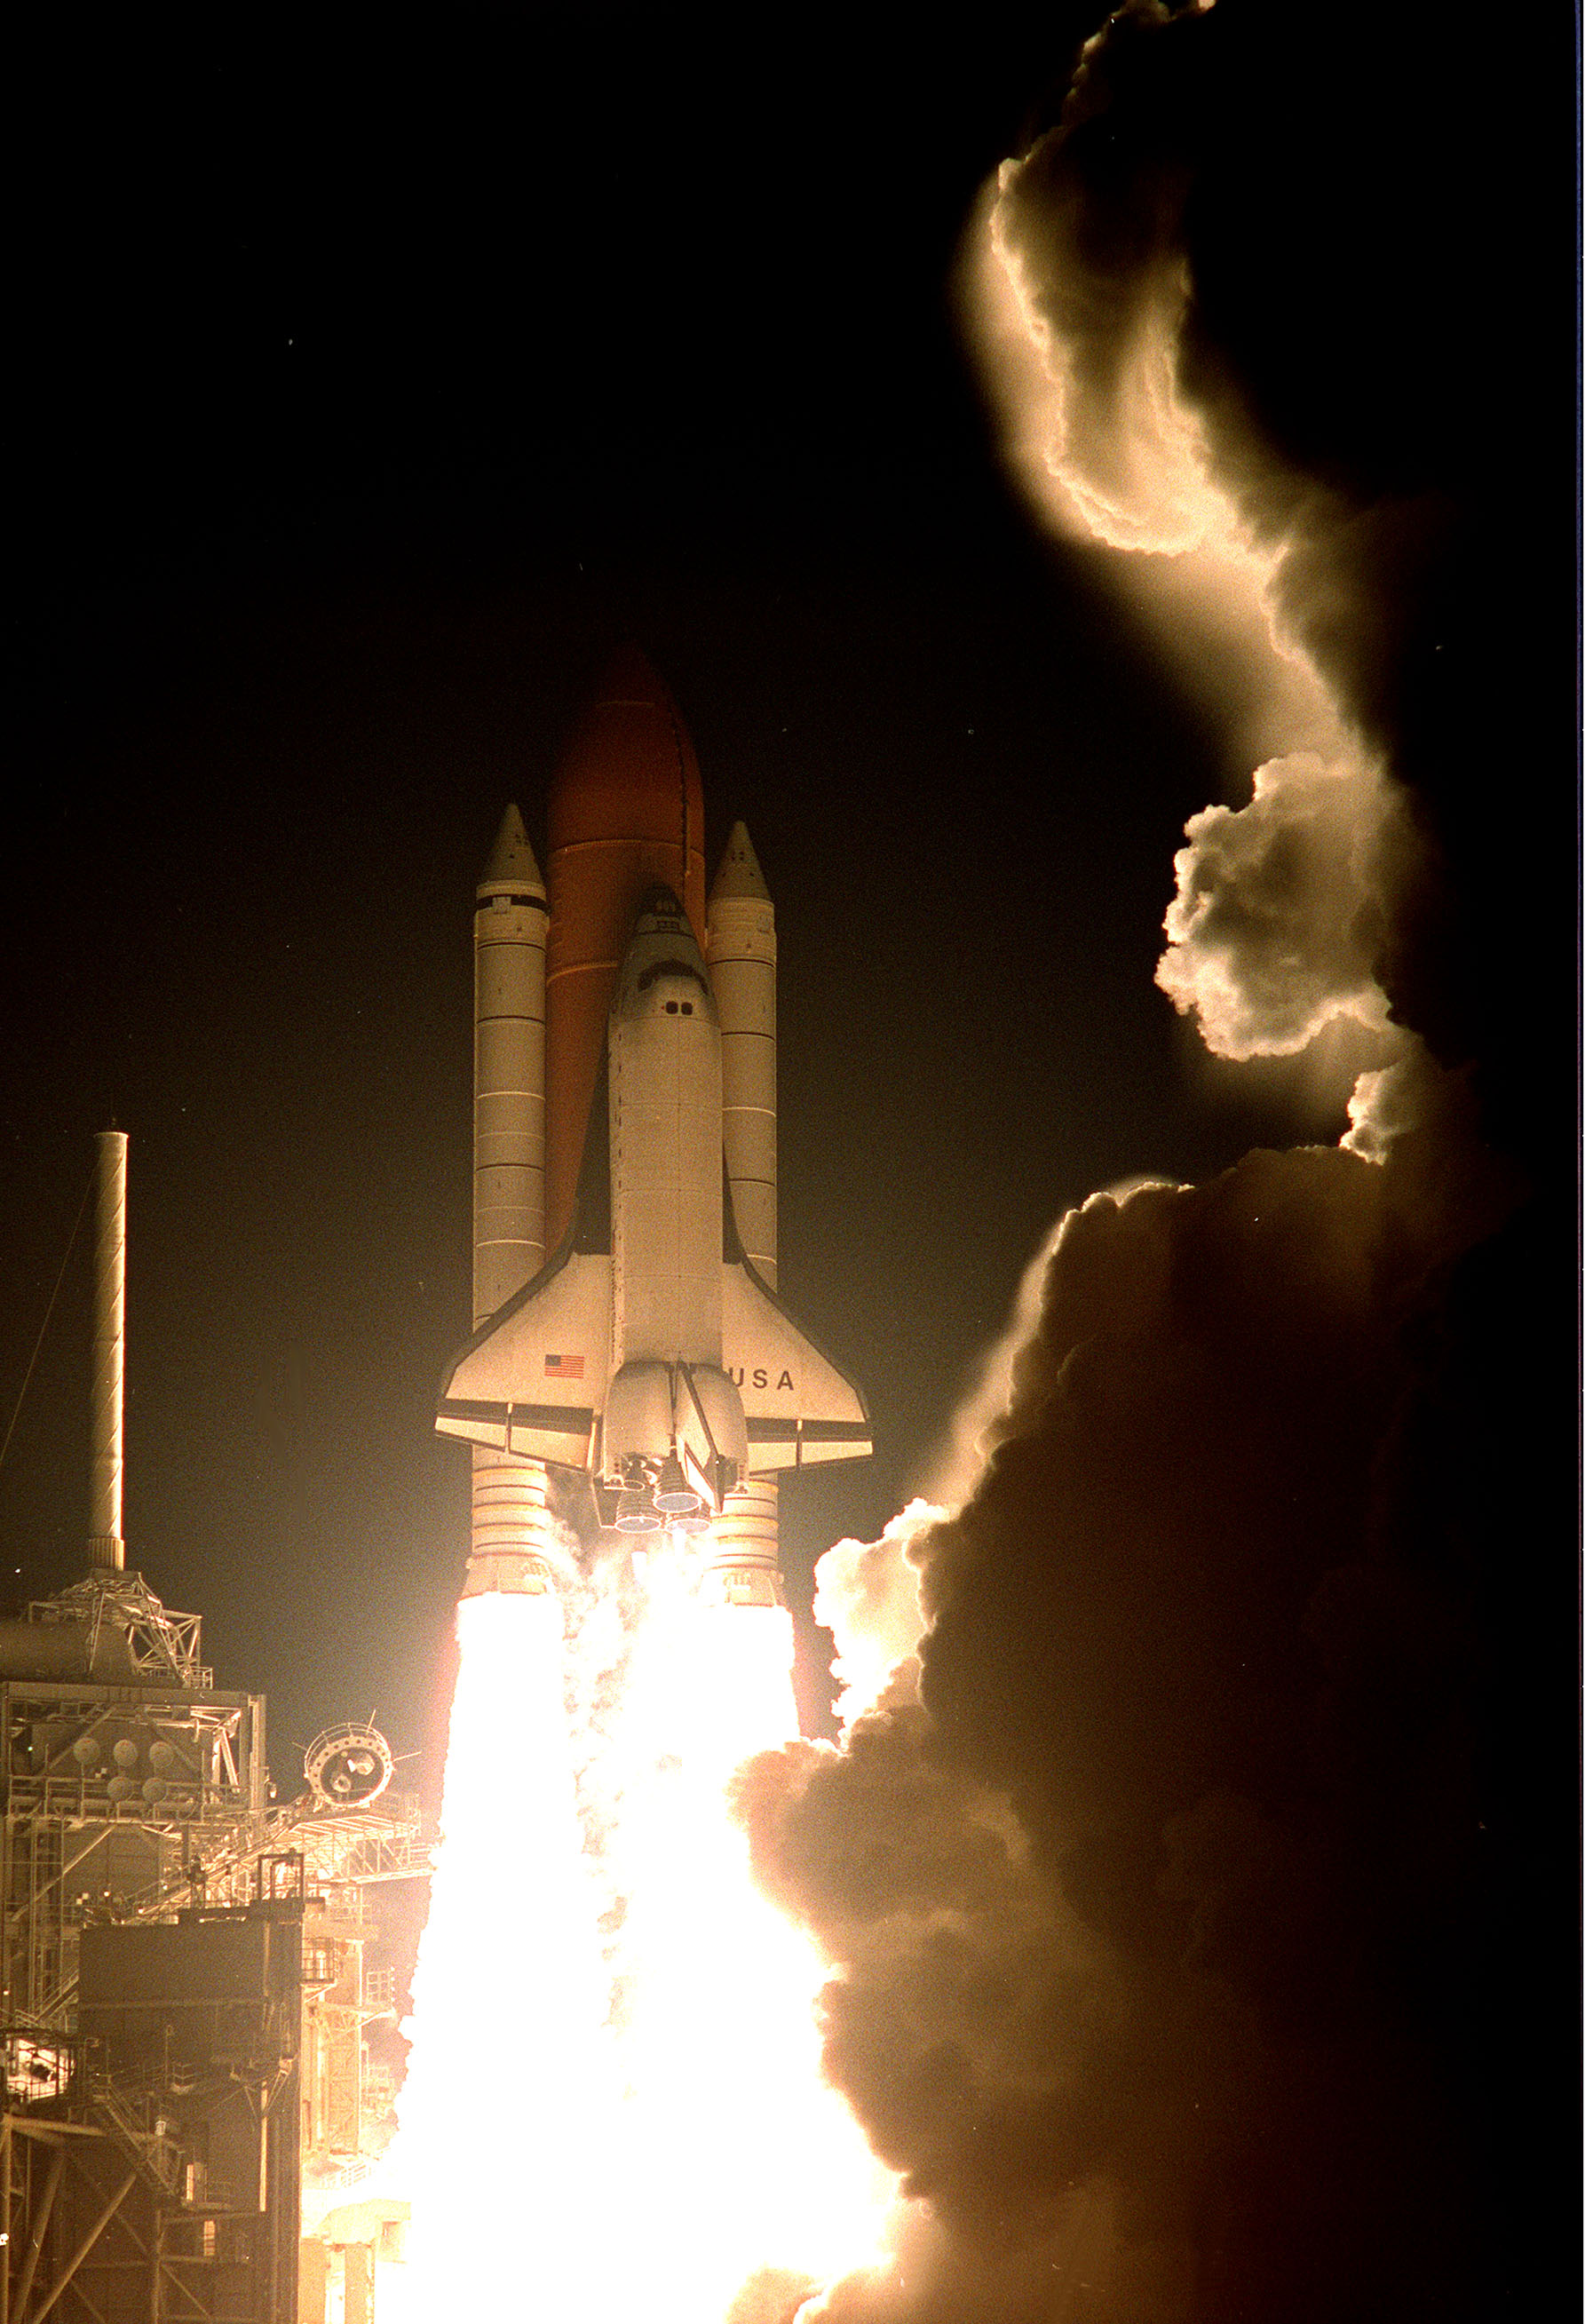
- KSC-99PP-0950 - (L,M,H) - Liftoff of Space Shuttle Columbia on mission STS-93
- KSC-99PP-0951 - (L,M,H) - Liftoff of Space Shuttle Columbia on mission STS-93
- KSC-99PP-0952 - (L,M,H) - Liftoff of Space Shuttle Columbia on mission STS-93
- KSC-99PP-0953 - (L,M,H) - Liftoff of Space Shuttle Columbia on mission STS-93
- KSC-99PP-0954 - (L,M,H) - Liftoff of Space Shuttle Columbia on mission STS-93
- KSC-99PP-0955 - (L,M,H) - Liftoff of Space Shuttle Columbia on mission STS-93
- KSC-99PP-0956 - (L,M,H) - Liftoff of Space Shuttle Columbia on mission STS-93
- KSC-99PP-0957 - (L,M,H) - Liftoff of Space Shuttle Columbia on mission STS-93
- KSC-99PP-0958 - (L,M,H) - Liftoff of Space Shuttle Columbia on mission STS-93
- KSC-99PP-0959 - (L,M,H) - Liftoff of Space Shuttle Columbia on mission STS-93
- KSC-99PP-0960 - (L,M,H) - Liftoff of Space Shuttle Columbia on mission STS-93
- KSC-99PP-0961 - (L,M,H) - Liftoff of Space Shuttle Columbia on mission STS-93
- KSC-99PP-0962 - (L,M,H) - Liftoff of Space Shuttle Columbia on mission STS-93
- KSC-99PP-0963 - (L,M,H) - Commander Collins in the White Room
- KSC-99PP-0964 - (L,M,H) - Pilot Ashby in the White Room
- KSC-99PP-0965 - (L,M,H) - Mission Specialist Coleman and Pilot Ashby in the White Room
- KSC-99PP-0966 - (L,M,H) - STS-93 M.S. Michel Tognini in white room
- KSC-99PP-0967 - (L,M,H) - STS-93 M.S. Stephen Hawley in the White Room
- KSC-99PP-0980 - (L,M,H) - Close-up of Columbia's main engine No. 3
- KSC-99PP-0981 - (L,M,H) - Close-up of Columbia's main engine No. 3
- KSC-99PP-0982 - (L,M,H) - Close-up of Columbia's main engine No. 3
- KSC-99PP-0983 - (L,M,H) - Columbia makes a nighttime landing at KSC following STS-93
- KSC-99PP-0984 - (L,M,H) - Columbia makes a nighttime landing at KSC following STS-93
- KSC-99PP-0985 - (L,M,H) - Columbia makes a nighttime landing at KSC following STS-93
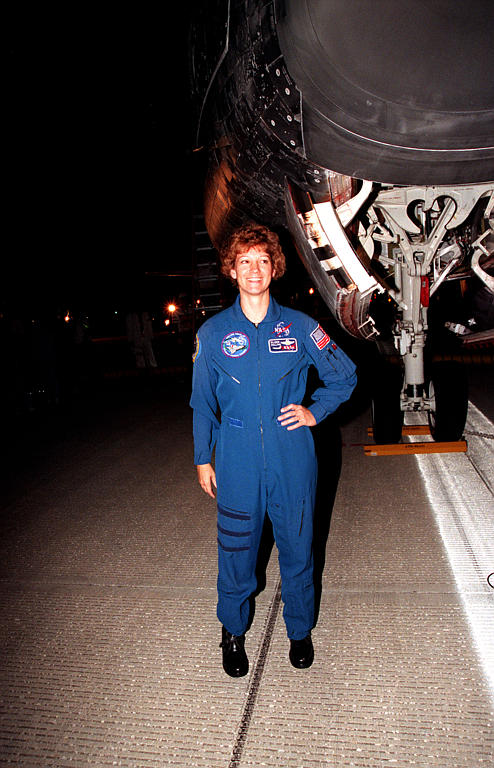
- KSC-99PP-0986 - (L,M,H) - STS-93 Commander Collins poses in front of Columbia
- KSC-99PP-0987 - (L,M,H) - The STS-93 crew pose in front of Columbia
- KSC-99PP-0988 - (L,M,H) - NASA Administrator Goldin talks with STS-93 Commander Collins at the SLF
- KSC-99PP-0989 - (L,M,H) - STS-93 Mission Specialist Tognini talks with Goldin, Ratie, and Plattard
DISCLAIMER: These photographs are available for preview and download in electronic digital color form ONLY. They are a cropped or some other electronically processed version of an original NASA negative and cannot be ordered from NASA in photograph form. No copyright protection is asserted for these photographs. If a recognizable person appears in this photograph, use for commercial purposes may infringe a right of privacy or publicity. It may not be used to state or imply the endorsement by NASA of a commercial product. (See NASA Copyright Notice)
 STS-93 Mission Page
 Previous STS-96 Images
 Next STS-103 Images
Photos By: National Aeronautics and Space Administration (taken by Bionetics)
Scanned By: Bionetics and NASA/KSC Internet Lab
Captions: Information Dynamics, Inc (Kay Grinter, Anita Barrett, and Elaine Liston)
Curator: Jim Dumoulin (dumoulin@titan.ksc.nasa.gov) / NASA
Last Updated: Thursday August 31 09:22:14 EDT 2000 (M. Downs) A service of NASA/Kennedy Space Center Public Affairs Office, Joe Gordon, Jr., Director (Joseph.Gordon-1@ksc.nasa.gov)